Understanding the Importance of Preparing a Wooden Floor for a Finish
Preparing a wooden floor before applying a finish is crucial for both home owners and business owners. There are several reasons why proper preparation is important.
Preparing a wooden floor ensures that the finish will adhere properly and last for years to come. without proper preparation, the finish may not bond correctly to the floor, resulting in a poor-looking and potentially dangerous floor. by cleaning the floor and sanding it down, any dirt, dust, or debris that may interfere with the finish’s adhesion is removed. this creates a clean and smooth surface for the finish to adhere to, ensuring its longevity.
Not preparing a wooden floor properly before finishing can have serious consequences. if the floor is not properly prepared, the finish may not adhere correctly and could peel or chip off over time. this not only affects the appearance of the floor but also creates a potential safety hazard. additionally, if the floor is not properly prepared, the finish may not last as long as it should, leading to the need for frequent repairs or refinishing.
The preparation process contributes to the final look and durability of the finish. by sanding the floor, any imperfections such as scratches, dents, or uneven surfaces are smoothed out, creating a more aesthetically pleasing result. the preparation process also helps to create a uniform surface, allowing the finish to be applied evenly and without any imperfections. this enhances the overall look and durability of the finish.
Recognizing the Condition of Your Wooden Floor
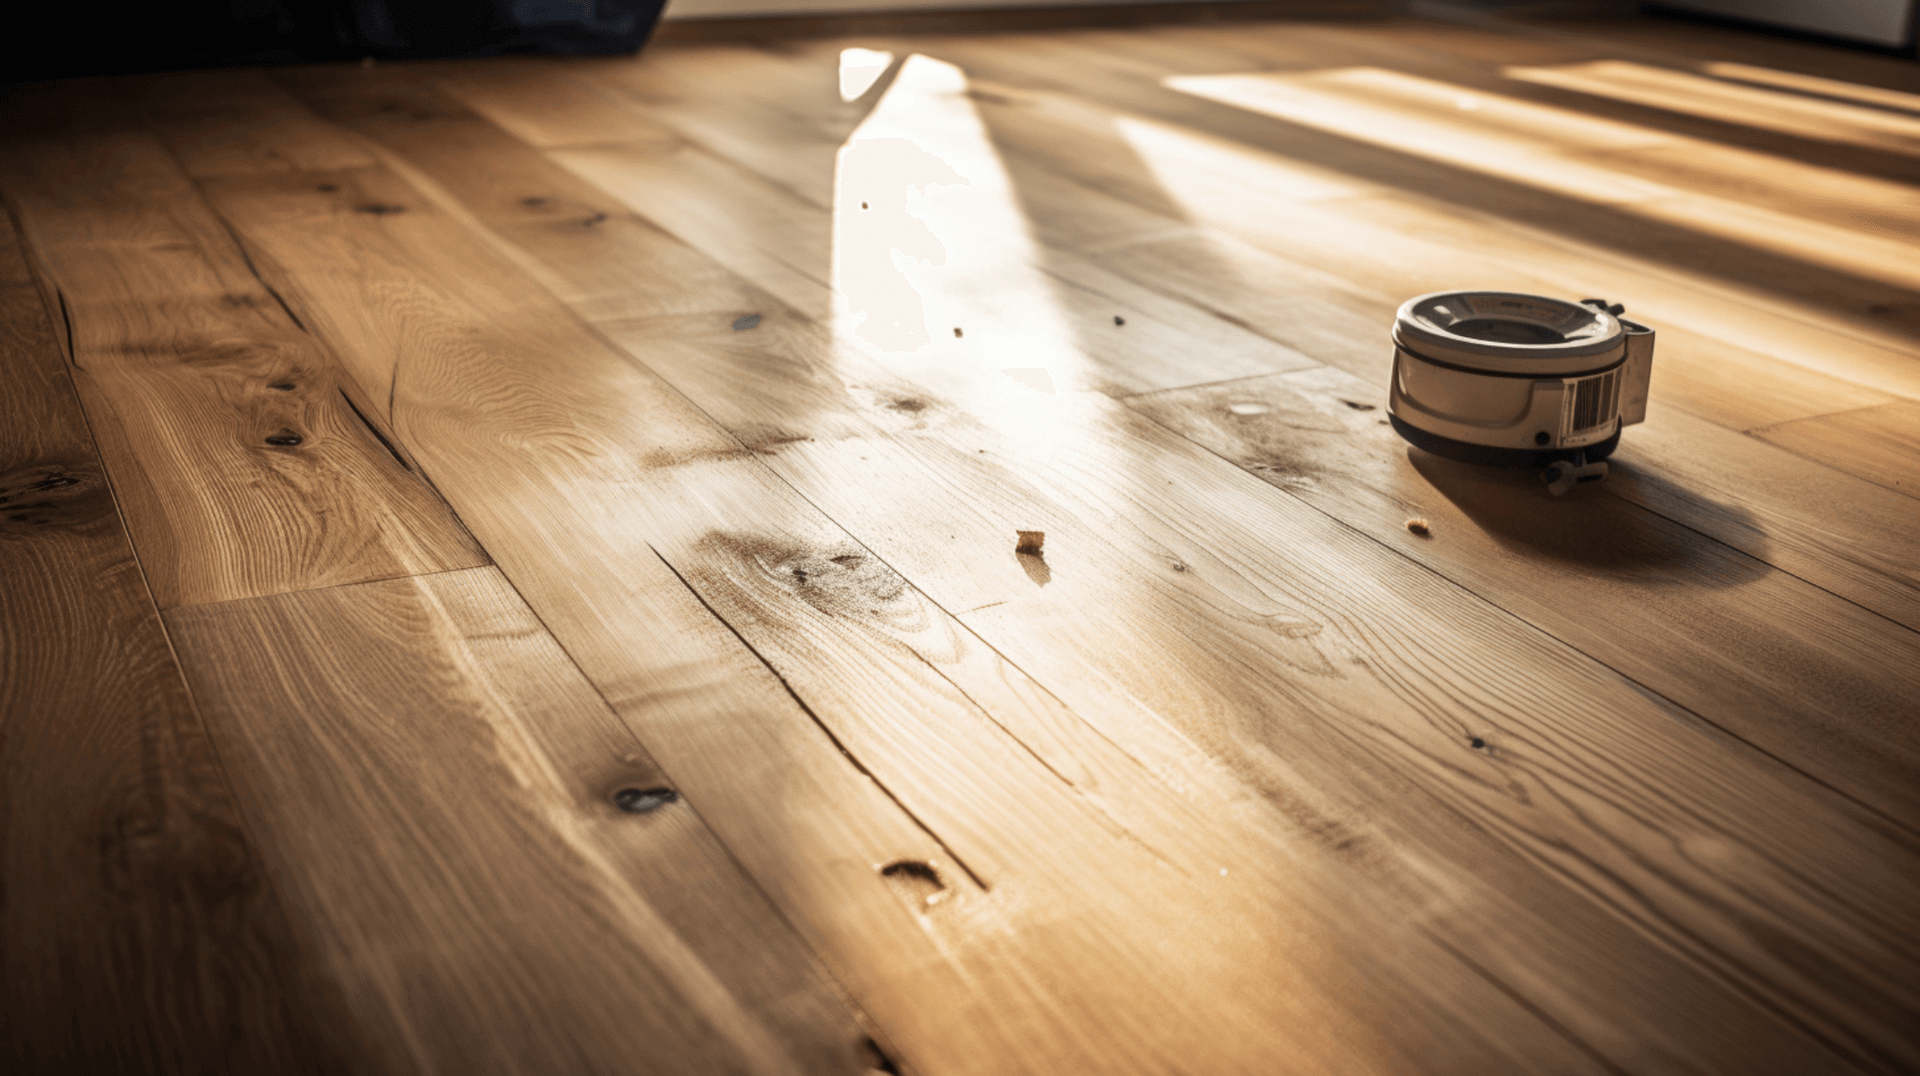
Recognizing the condition of your wooden floor is an important step in preparing it for a finish. Home owners and business owners should be aware of the signs of a healthy wooden floor that is ready for a finish, as well as potential damage or issues that need to be addressed before finishing.
A healthy wooden floor that is ready for a finish exhibits a smooth surface with no visible scratches, dents, or uneven areas. It should also be free from dirt, dust, and debris. If the floor meets these criteria, it is likely ready for a finish.
To identify potential damage or issues that need to be addressed before finishing, it is important to inspect the floor closely. Look for any signs of rot, decay, or infestation, as well as any cracks, splits, or missing fixings. Additionally, check for any deflection in the timbers caused by rot or decay. If any of these issues are present, they should be addressed before finishing.
It is also important to consider building regulations as part of the renovation process. Some thermal element requirements may necessitate the insulation of the structure to certain standards. If upgrading to those standards is not feasible, the element should be upgraded to the best possible standard.
By recognizing the condition of your wooden floor and addressing any potential damage or issues, you can ensure a successful and long-lasting finish for your floor.
The Role of Subfloor in Wooden Floor Preparation
The condition of the subfloor is an important factor to consider when preparing a wooden floor for a finish. Home owners and business owners should be aware of the tests that should be performed on the subfloor before proceeding with the preparation process, as well as how to ensure the subfloor is in the right condition for a finish.
It is important to assess the level of the subfloor in relation to the potential external finish floor level. if the subfloor is higher than the risk of water penetration, the internal finish floor level should be verified. additionally, it is important to check for the presence of damp proof course (dpc) and adequate ventilation, as well as the suitability of the timber floor to be covered by the definition used in this guidance.
It is important to assess the condition of the timber joists. the timber moisture content should not exceed 20%, and the joist ends should be built into the opposing walls or hung from brackets. it is also important to check for signs of decay and infestation, as well as any deflection in the timbers caused by rot or decay.
By performing these tests and addressing any issues identified, you can ensure that the subfloor is in the right condition for a finish. This will contribute to the overall success and durability of the finished wooden floor.
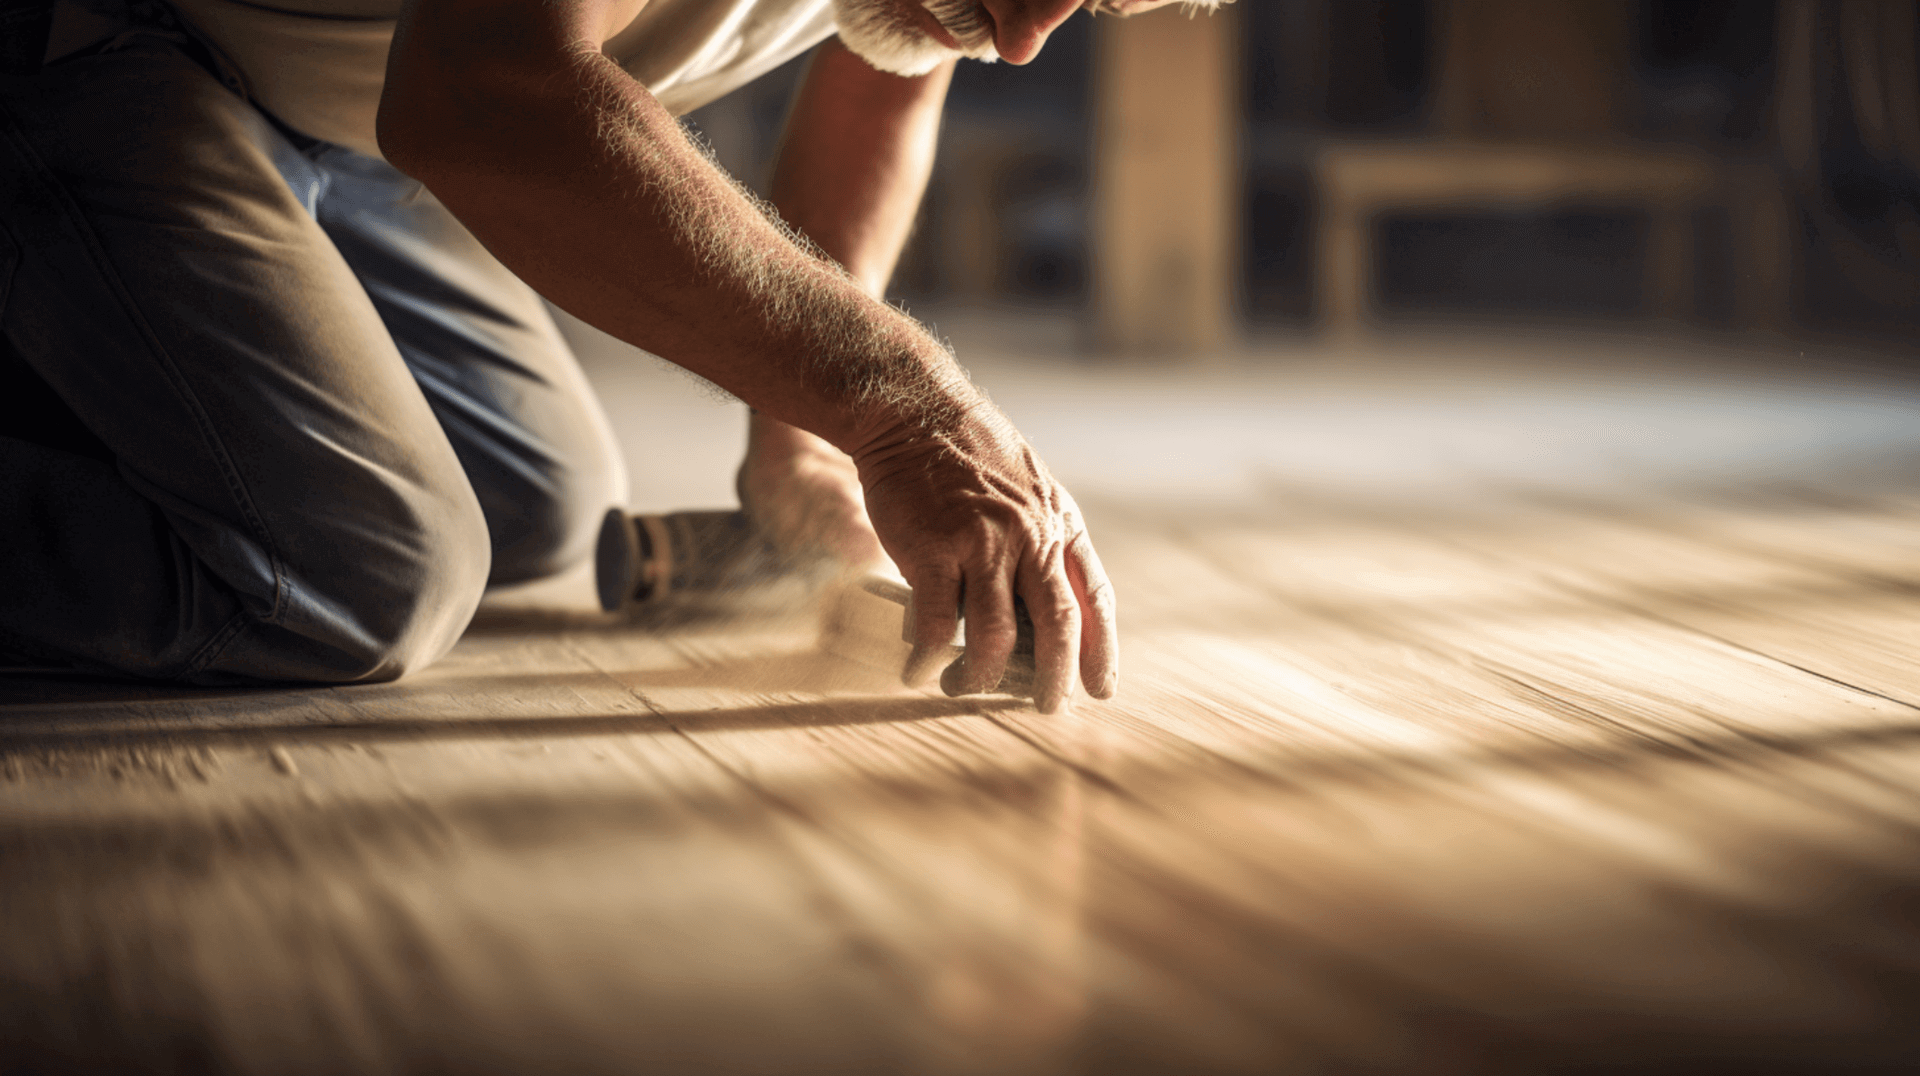
Preparing Your Wooden Floor: Cleaning and Repairing
Cleaning and repairing your wooden floor is an important step in preparing it for a finish. Home owners and business owners should be aware of the recommended cleaning methods, as well as how to handle any necessary repairs before finishing.
To clean your wooden floor, it is important to use a gentle cleaning solution and a soft-bristled brush. This will help to remove any dirt, dust, or debris without damaging the floor. Additionally, it is important to use a vacuum cleaner to remove any remaining debris. With the customer’s permission, remove materials and possessions if the customer is unable to do so. Put down dust sheets where required to protect the customer’s property. Following completion of the works, all packaging/waste materials must be removed from the site and properly disposed of. Clear up any mess as soon as possible and dispose of waste in the appropriate manner. Ask for permission if the customer’s toilet facilities are needed. Avoid disputes with the customer or responding negatively to any complaints or criticism.
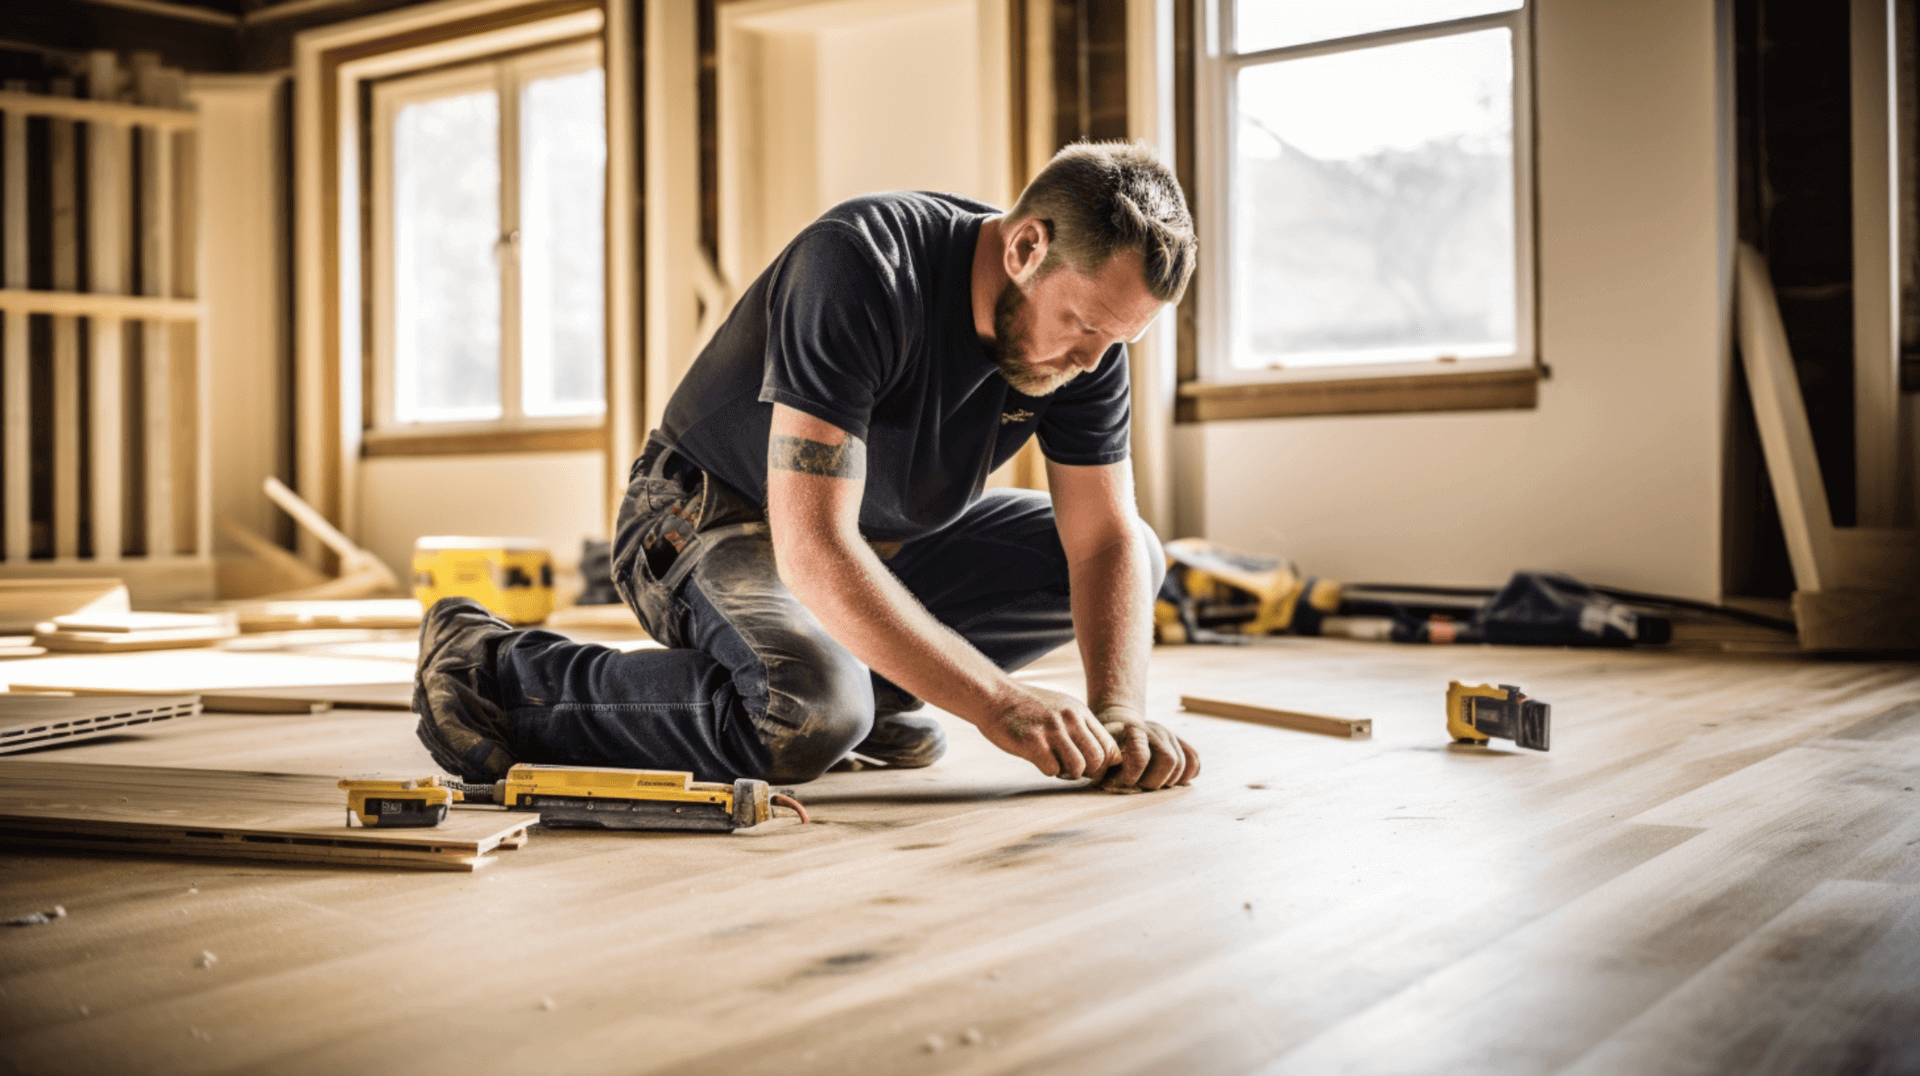
If any repairs are necessary, it is important to address them before finishing the floor. This may include filling any cracks or splits, replacing any missing fixings, or replacing any damaged or rotten timbers. It is important to use the appropriate materials and tools for these repairs, such as wood filler, screws, and saws. Additionally, it is important to assess the level of the subfloor in relation to the potential external finish floor level, check for the presence of damp proof course (DPC) and adequate ventilation, and assess the condition of the timber joists. The timber moisture content should not exceed 20%, and the joist ends must be built into the opposing walls or hung from brackets.
By following these cleaning and repair methods, you can effectively prepare your wooden floor for a finish, ensuring a smooth and durable surface for the final result. The customer should be fully informed of the work being carried out, including an explanation of any areas that are not accessible. Additionally, any openings or hazards should be addressed to ensure the safety of both the workers and the customer.
The Art of Sanding: Preparing Your Wooden Floor for a Finish
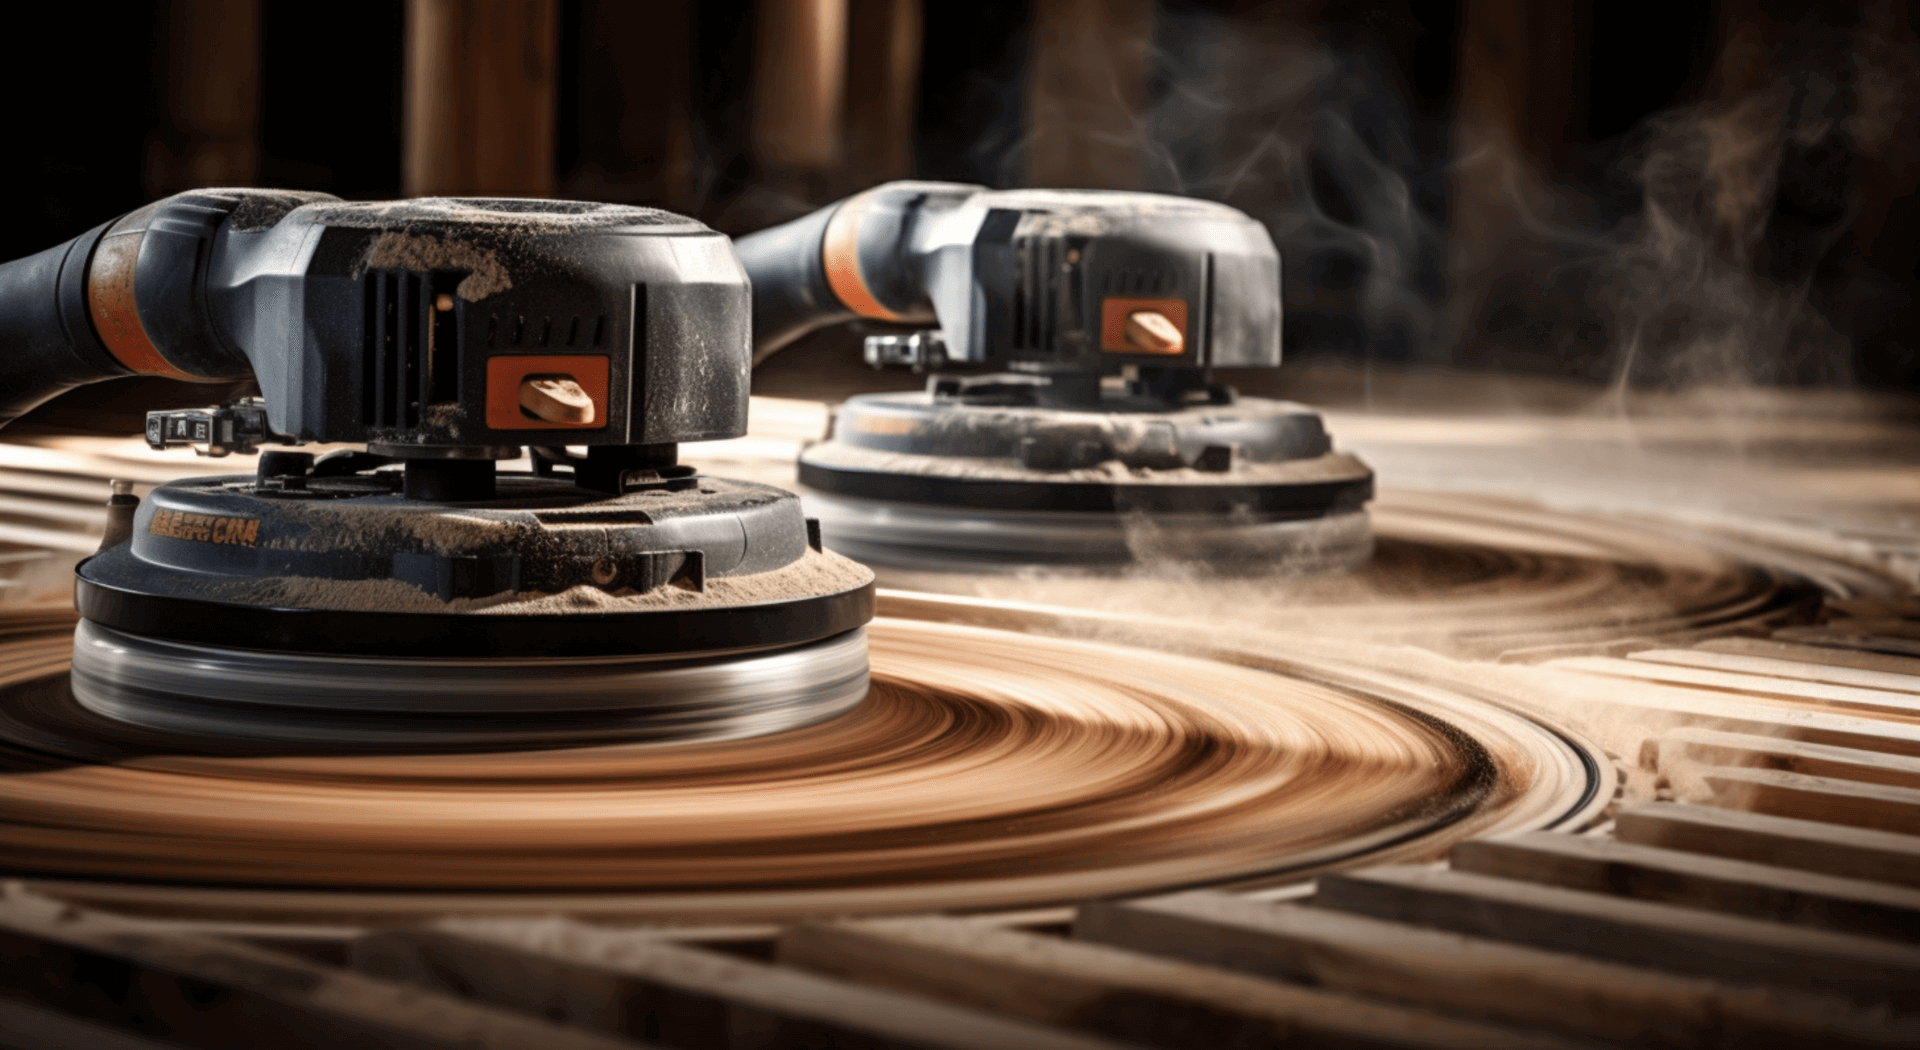
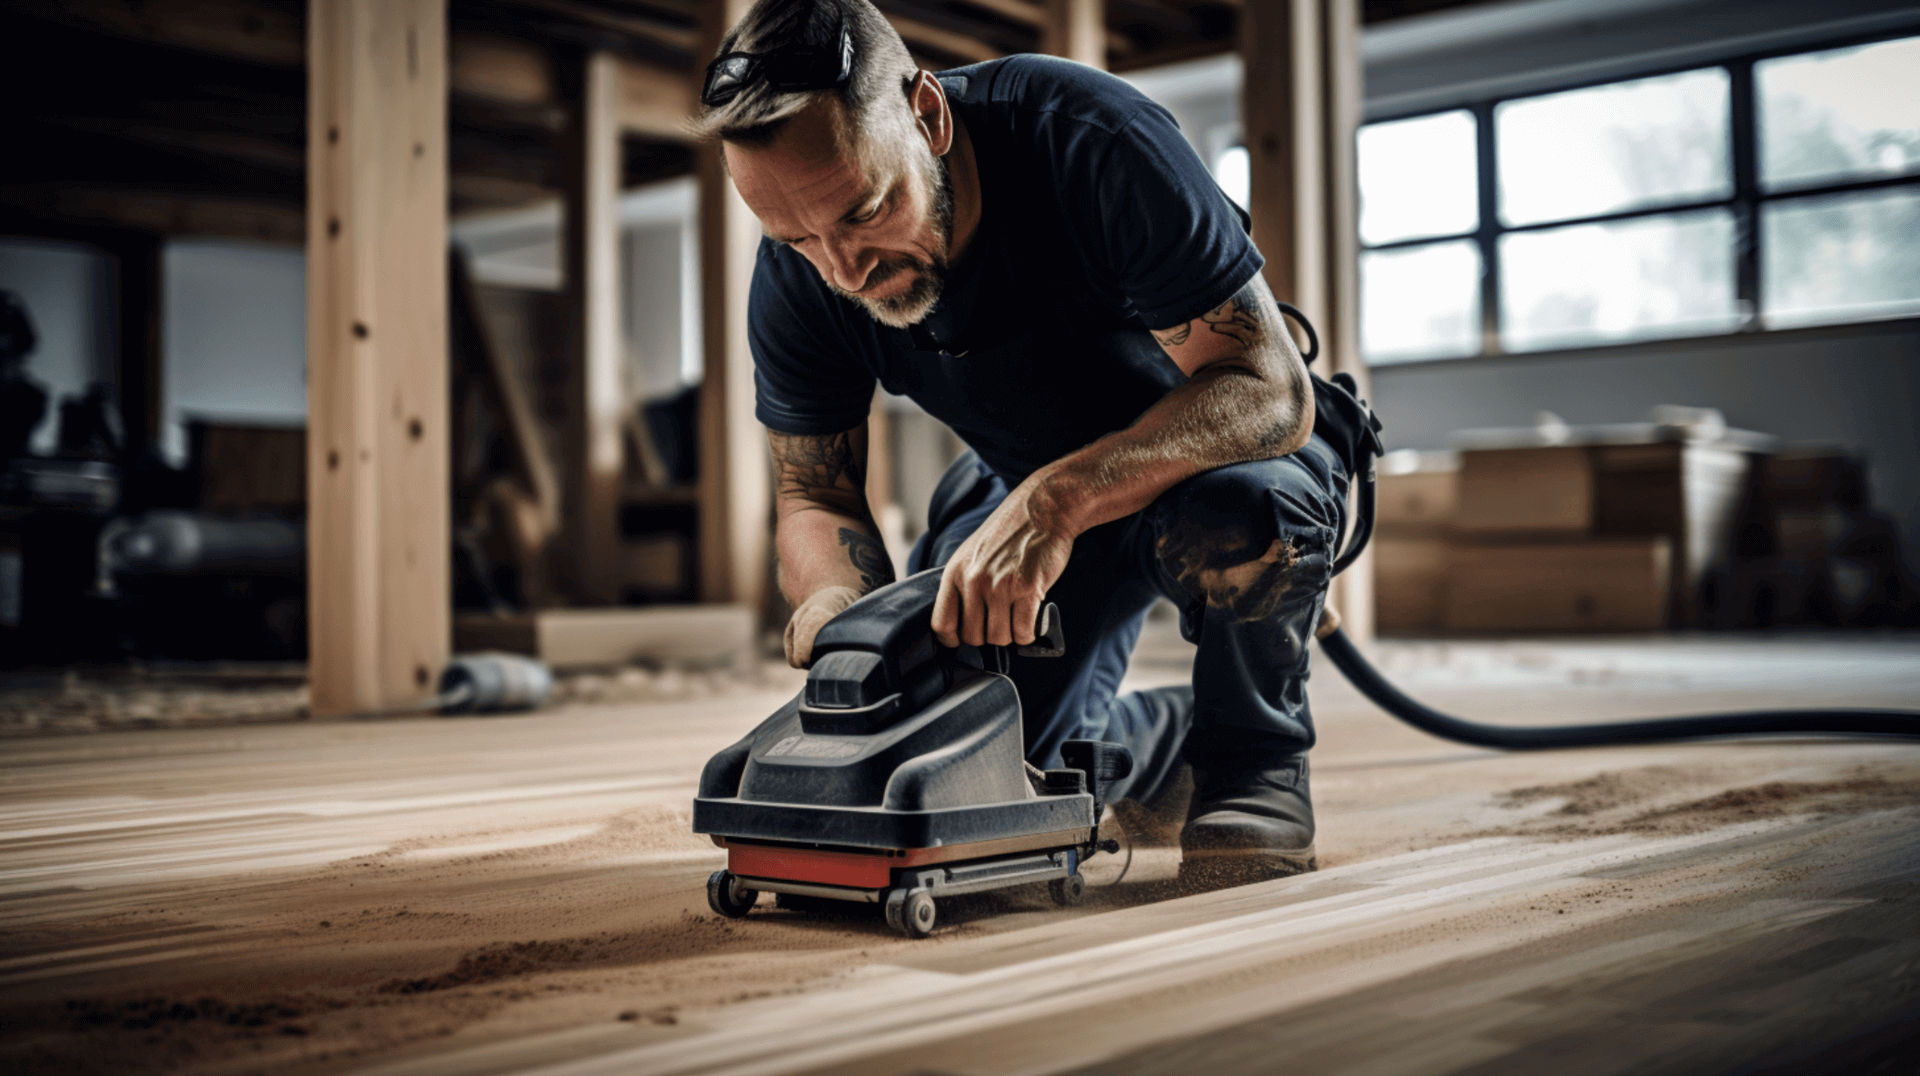
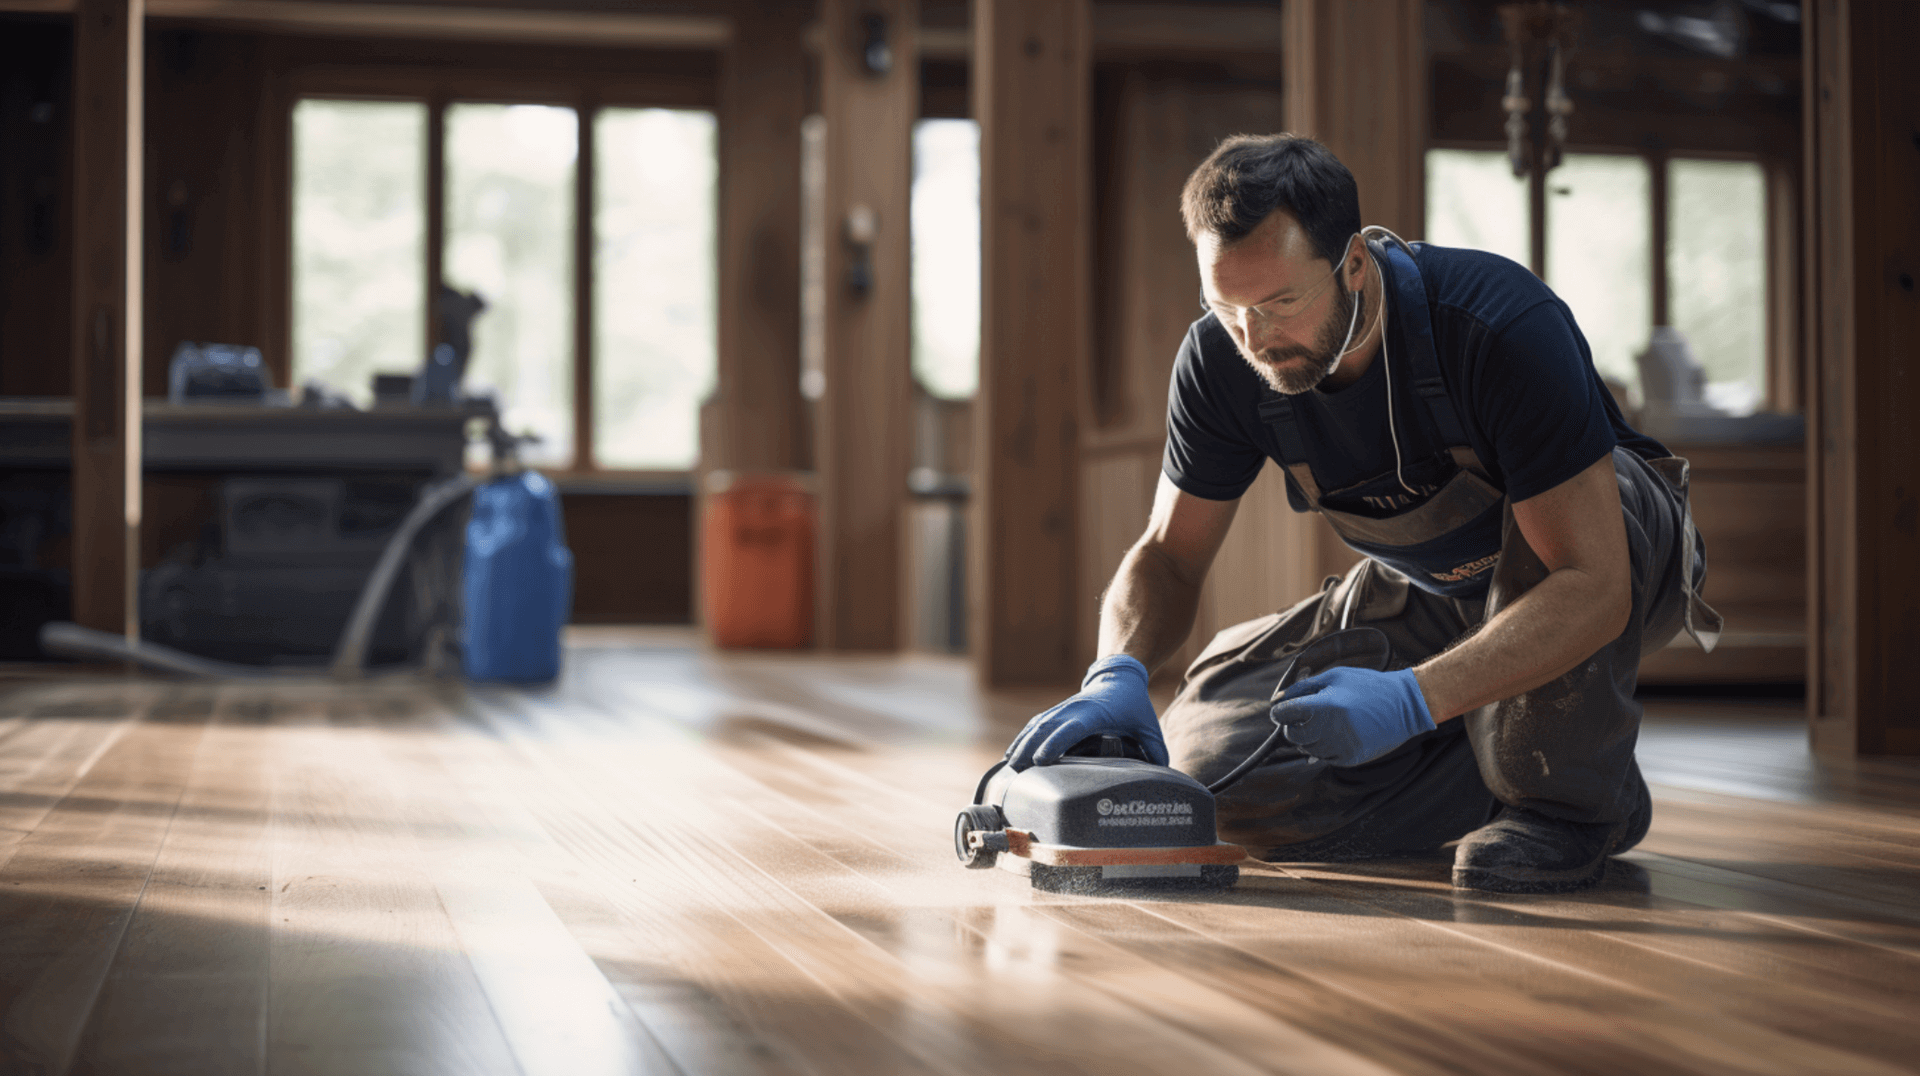
Sanding is an essential step in preparing a wooden floor for a finish. It involves using a sanding machine to remove the top layer of the floor, creating a smooth and even surface. To achieve the best results, it is crucial to use the appropriate sandpaper and techniques.
Different types of sandpaper are designed for specific wood types. For hardwoods, coarse sandpaper is recommended, while softwoods require fine sandpaper. By selecting the right sandpaper, you can effectively remove the old finish and imperfections from the wooden floor.
To ensure a smooth and even result, follow the correct sanding technique. Begin by sanding in the direction of the grain, and then switch to a cross-grain pattern. This approach guarantees that the entire surface is evenly sanded. Remember to apply gentle pressure and avoid pressing too hard on the sandpaper, as excessive force can lead to uneven sanding.
Considering the presence of water or condensate pipes in the sub-floor voids is also important during the sanding process. Take necessary precautions to protect these pipes to prevent any damage.
By following these guidelines and using the appropriate sandpaper and techniques, you can achieve a beautifully sanded wooden floor that is ready for the finishing touches.
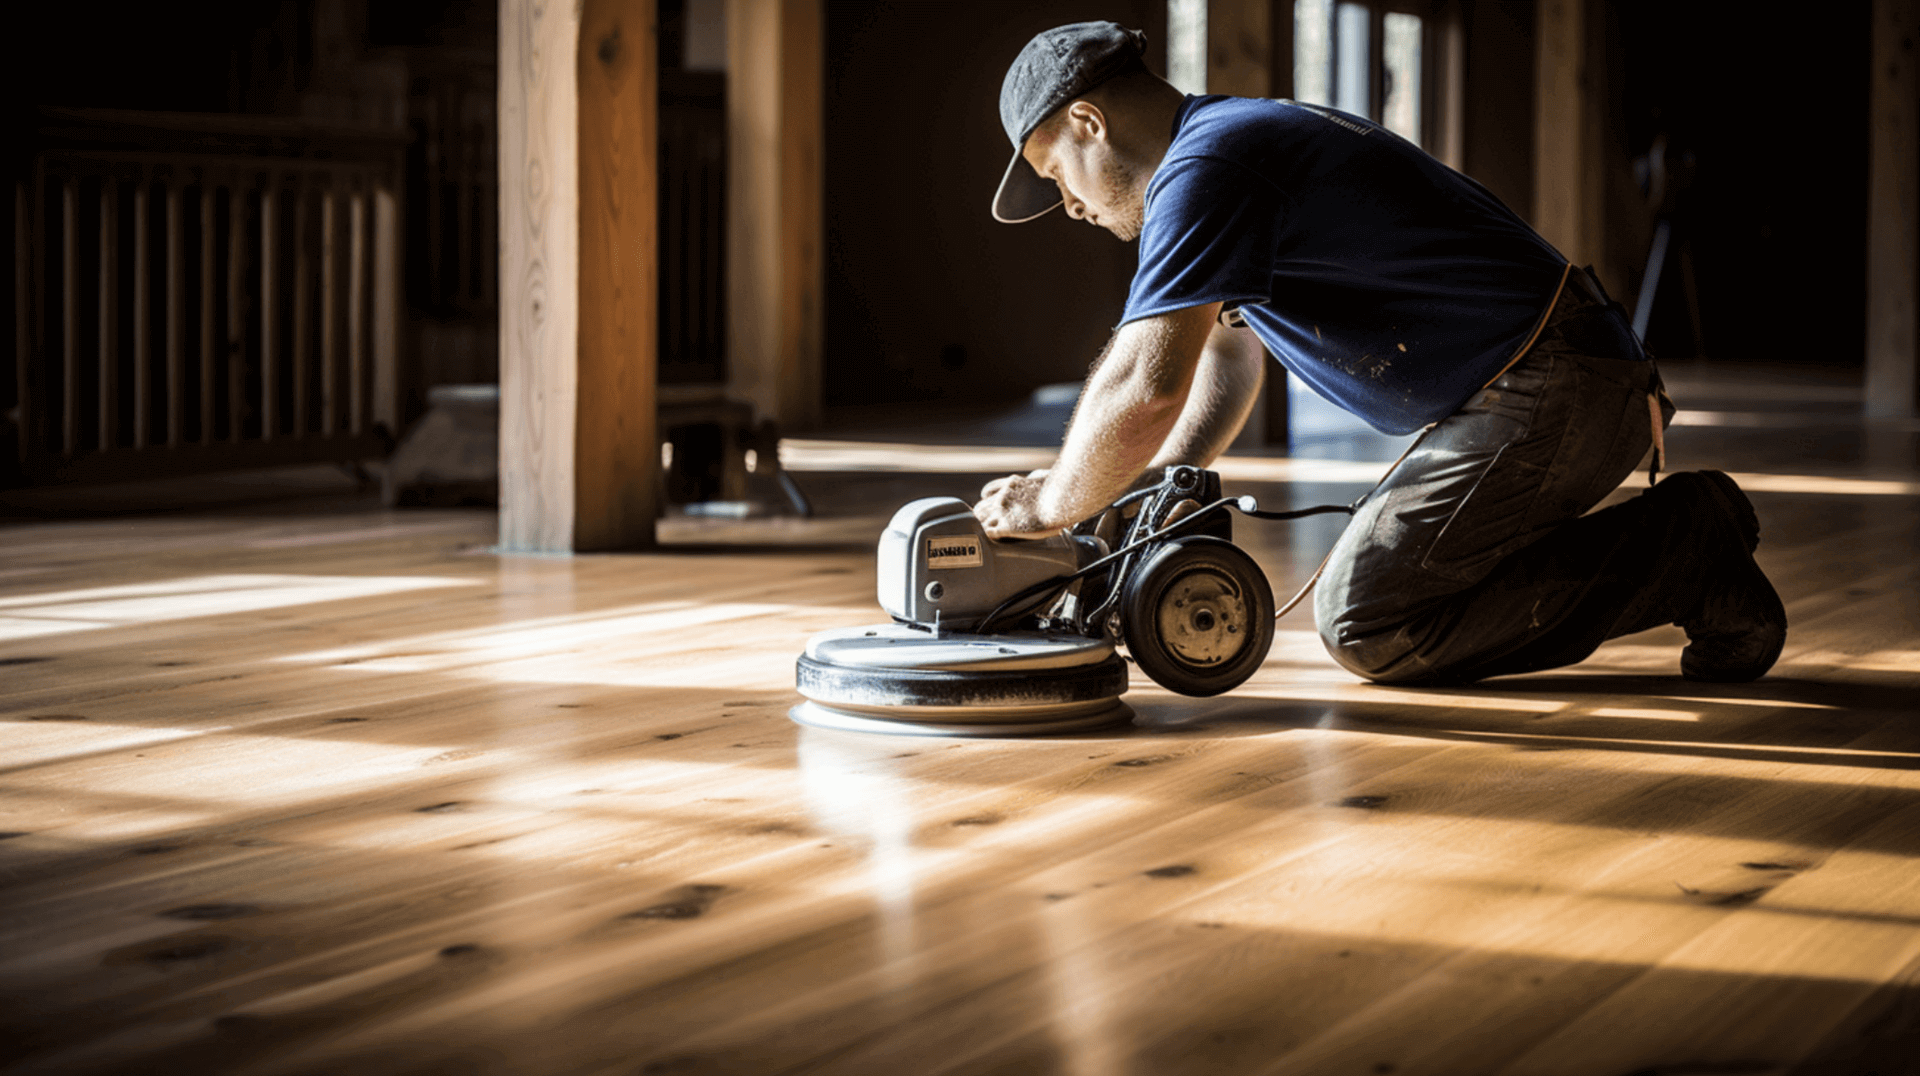
Understanding the Role of the TRIO ThreeDisk Sanding Machine in Floor Preparation
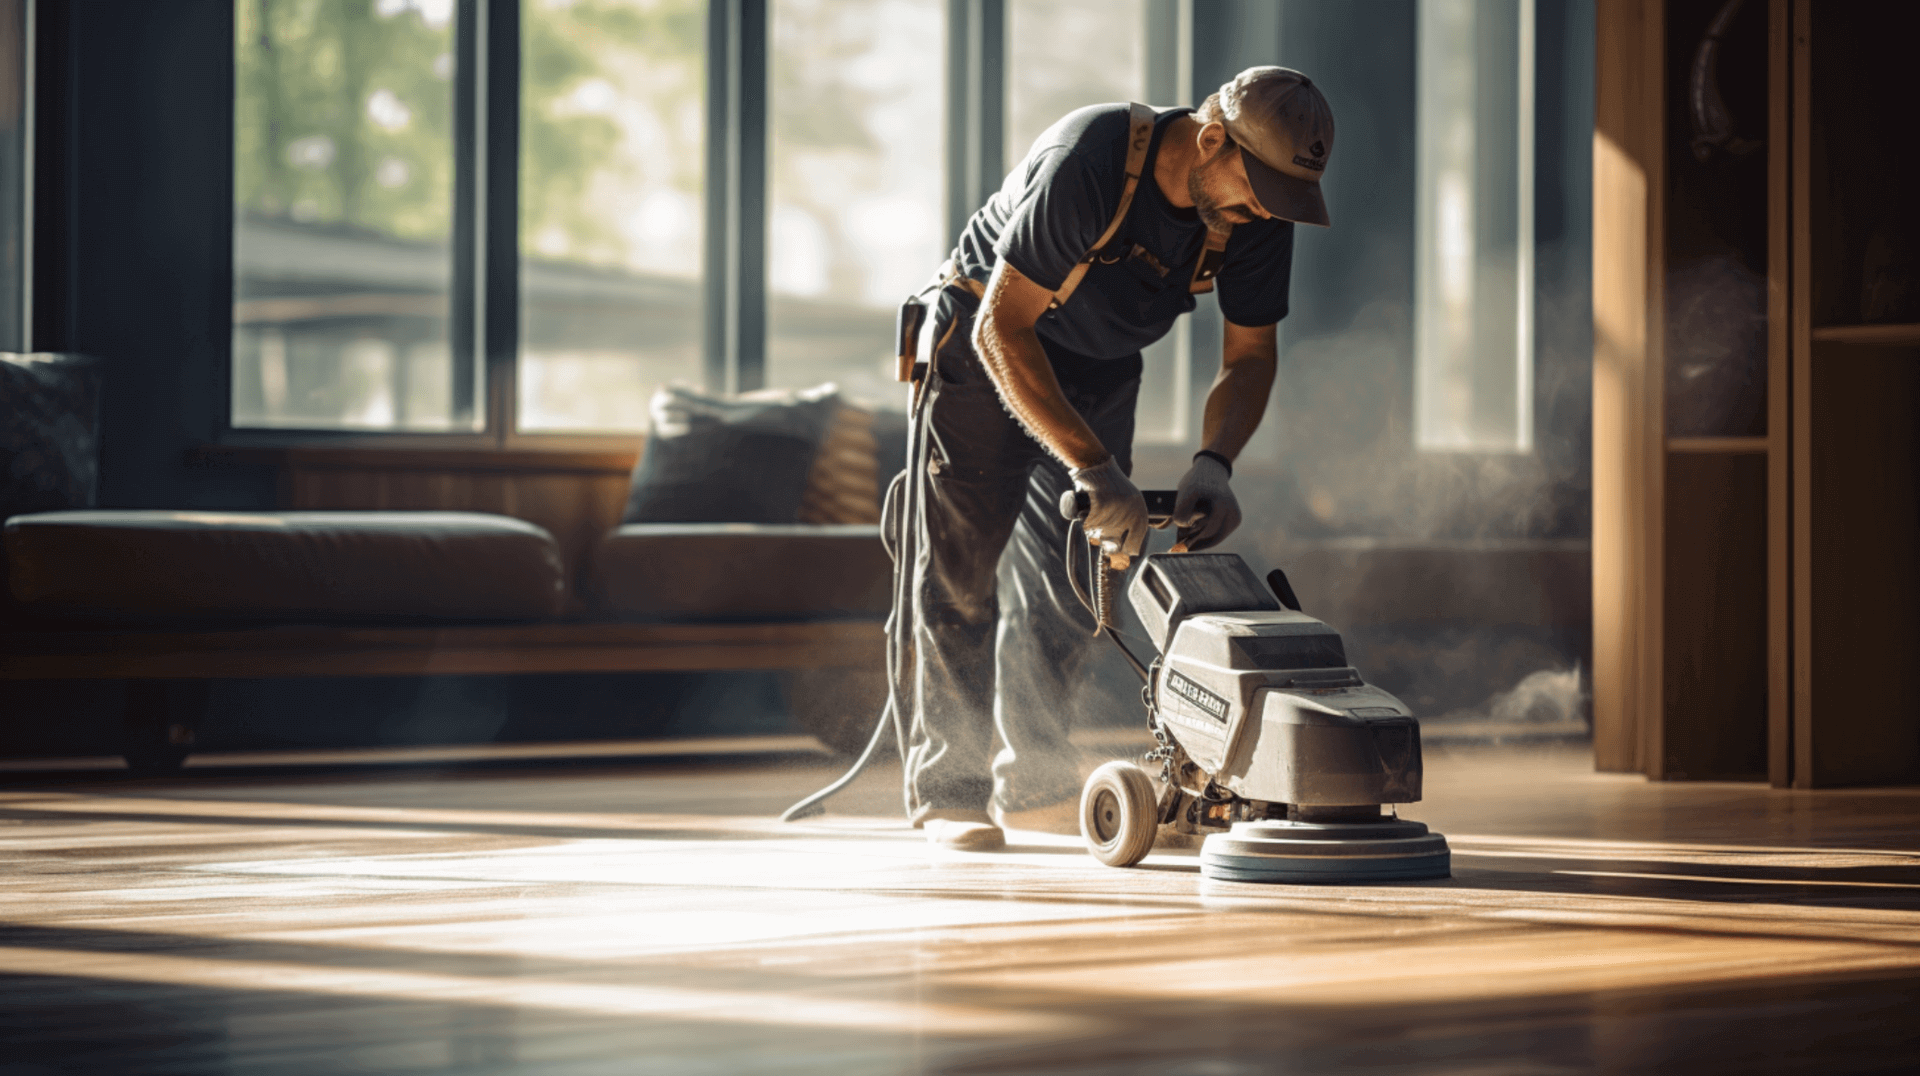
The TRIO ThreeDisk Sanding Machine is an essential tool for preparing a wooden floor for a finish. It is designed to provide a smooth and even surface, and is capable of removing the old finish and imperfections from the wooden floor. Home owners and business owners should be aware of the available milling disks and the correct process for using the TRIO.
The TRIO ThreeDisk Sanding Machine is equipped with three milling disks: a coarse disk, a medium disk, and a fine disk. The coarse disk is designed to remove the old finish and any imperfections, while the medium and fine disks are used to create a smooth and even surface. The milling disks are interchangeable, allowing you to select the appropriate disk for the job.
When using the TRIO ThreeDisk Sanding Machine, it is important to follow the correct process. Begin by sanding in the direction of the grain, and then switch to a cross-grain pattern. This approach guarantees that the entire surface is evenly sanded. Remember to apply gentle pressure and avoid pressing too hard on the sandpaper, as excessive force can lead to uneven sanding. Additionally, considering the presence of water or condensate pipes in the sub-floor voids is important during the sanding process. Take necessary precautions to protect these pipes to prevent any damage.
By understanding the role of the TRIO ThreeDisk Sanding Machine, selecting the appropriate milling disks, and following the correct sanding process, home owners and business owners can achieve a beautifully prepared wooden floor that is ready for the finishing touches.
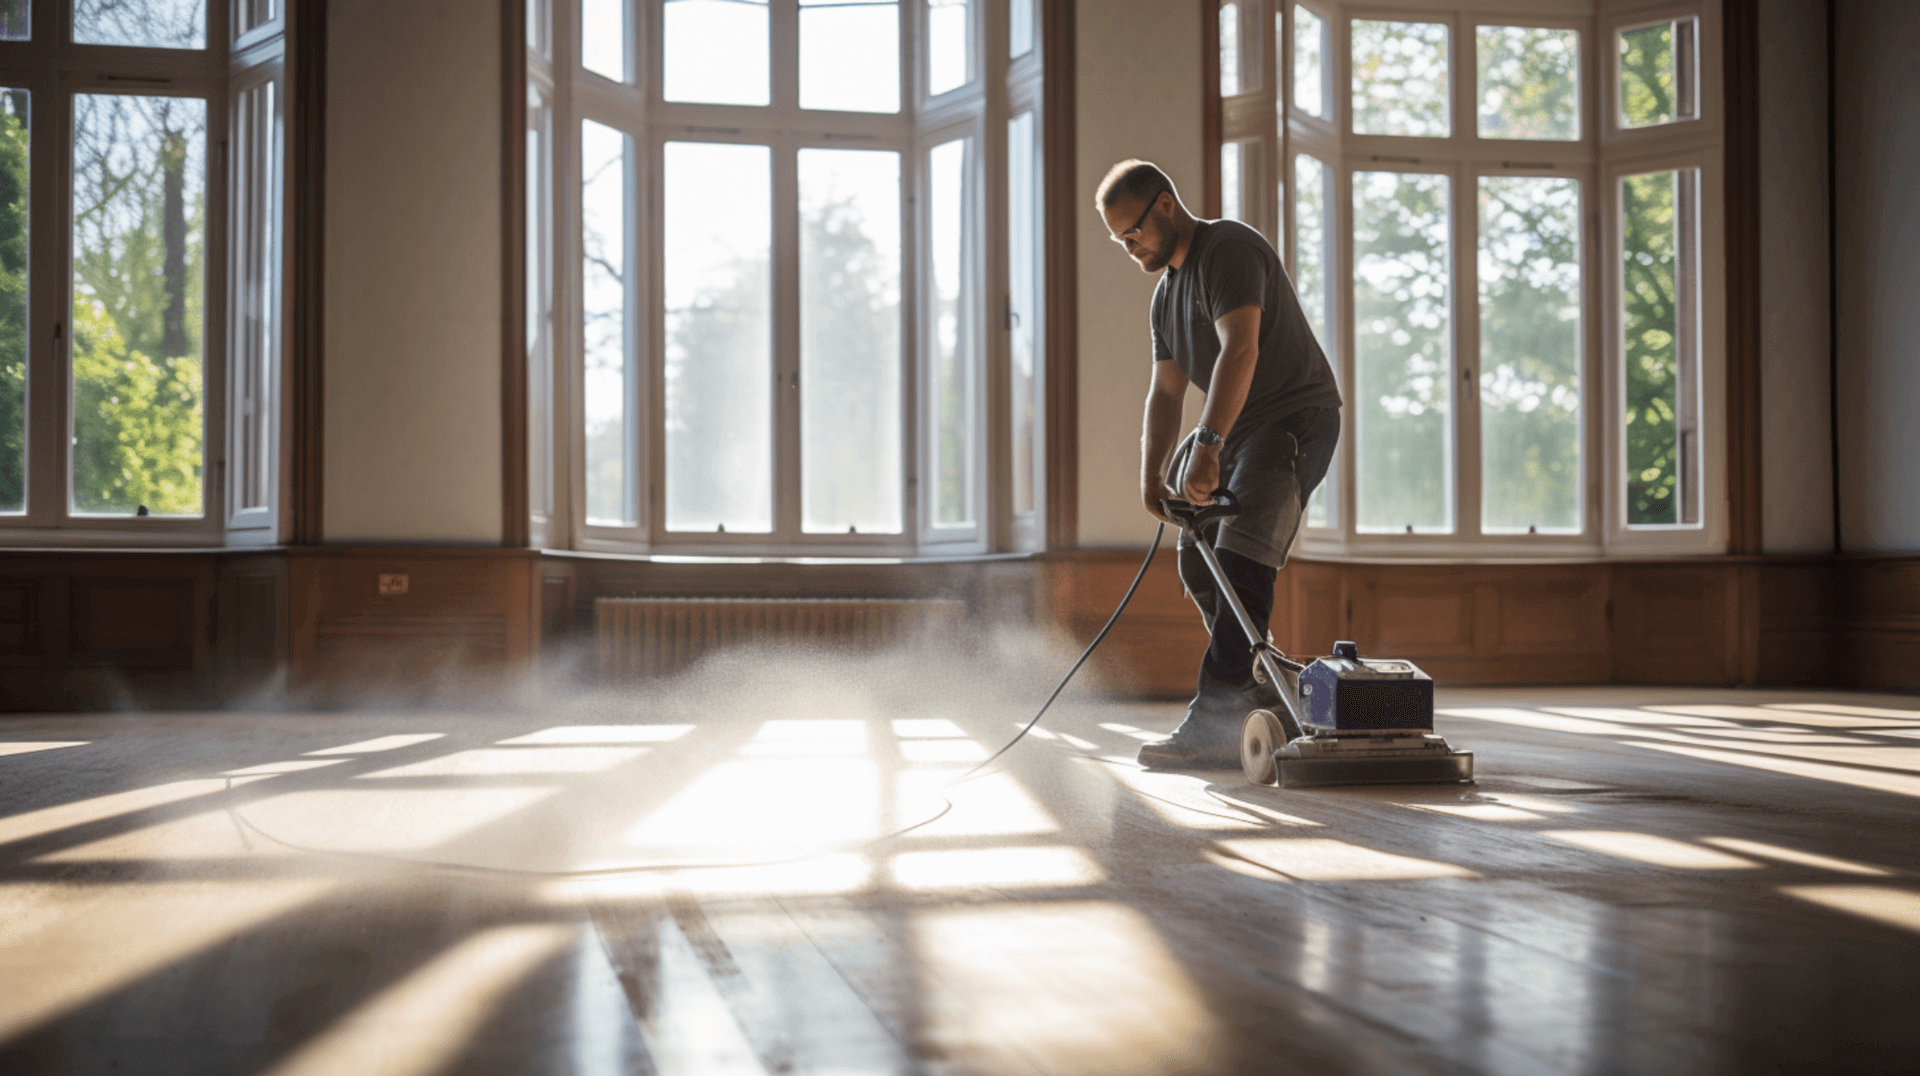
The HUMMEL Belt Sanding Machine: An Essential Tool for Floor Preparation
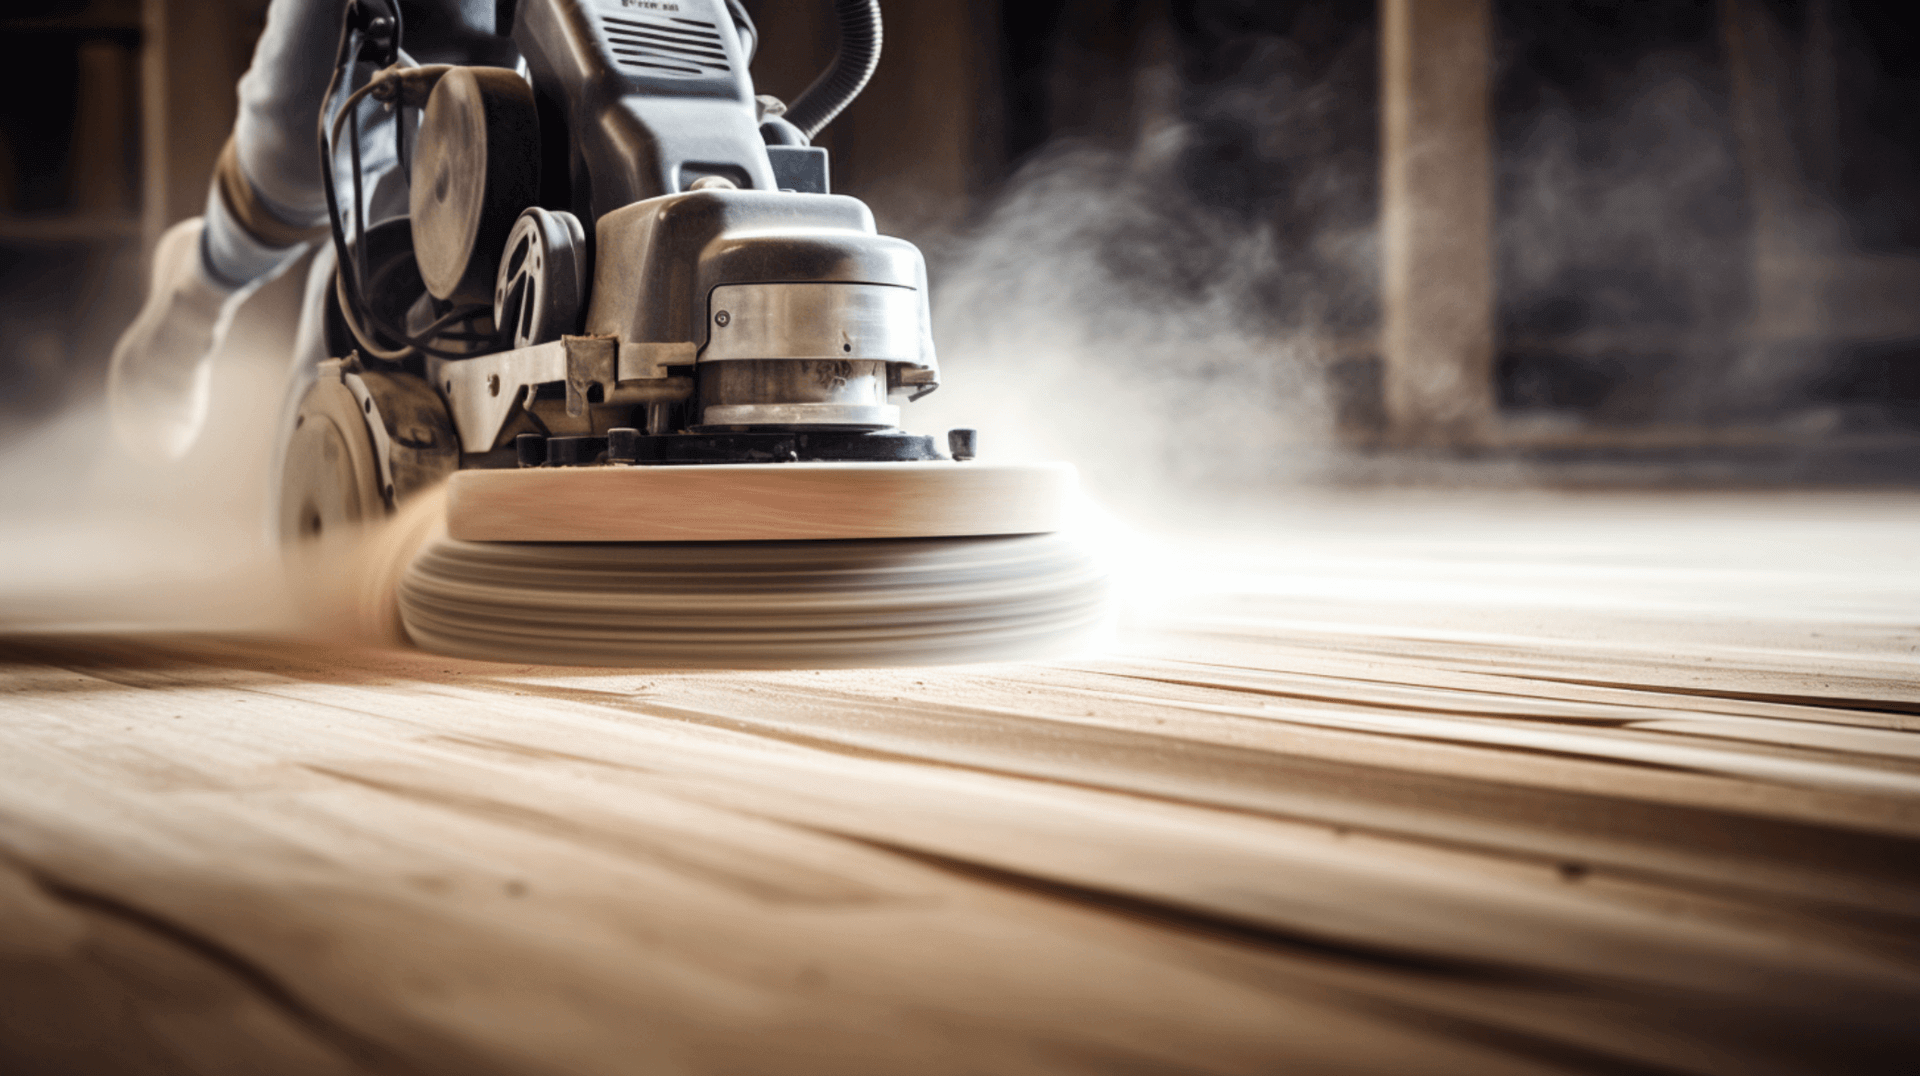
The HUMMEL Belt Sanding Machine is an essential tool for preparing a wooden floor for a finish. It is equipped with a variety of grits, ranging from coarse to fine. The coarse grit is specifically designed to remove the old finish and any imperfections, while the finer grits are used to create a smooth and even surface. The interchangeable grits allow you to select the most suitable one for the job at hand.
To achieve optimal results with the HUMMEL Belt Sanding Machine, it is crucial to follow the correct sanding process. Begin by sanding in the direction of the grain, which ensures an even and consistent sanding pattern. Then, switch to a cross-grain pattern to further refine the surface. It is important to apply gentle pressure during sanding and avoid excessive force, as this can lead to uneven sanding and potential damage to the floor.
Additionally, when using the HUMMEL Belt Sanding Machine, it is essential to consider the presence of water or condensate pipes in the sub-floor voids. Take extra care around these areas, especially where timbers are located, to prevent any potential damage.
By understanding the purpose of the HUMMEL Belt Sanding Machine, selecting the appropriate grits, following the correct sanding process, and considering potential hazards, home owners and business owners can achieve a beautifully prepared wooden floor that is ready for the finishing touches.
Choosing the Right Finish for Your Wooden Floor

Choosing the right finish for your wooden floor is an important decision, especially when considering the presence of water or condensate pipes in the sub-floor voids and any suspect timbers near actual or potential sources of dampness. It is crucial to take extra precautions to protect the floor from potential damage caused by moisture.
In addition to considering moisture-related factors, it is important to investigate the presence of internal decay in large-section timbers by probing with a sharp implement, like a bradawl. This will help identify any underlying issues that may affect the choice of finish.
Furthermore, it is essential to consider the current relevant national building regulations when selecting a finish. For example, in England, Wales, and Northern Ireland, the floor should achieve a thermal transmittance (U-value) of no more than 0.25 W/mK to comply with building regulations.
By taking into account these additional factors, along with the type of wood, the amount of traffic the floor will receive, and the desired look, you can make a well-informed decision and choose the right finish for your wooden floor.
Applying the Finish: Techniques and Tips
Applying the finish to a wooden floor is a crucial step in the preparation process. It is important to use the correct tools and materials, and to follow the correct techniques, to ensure a smooth, even, and durable finish.
The first step is to prepare the floor for the finish. This involves cleaning the floor with a vacuum cleaner and a damp cloth, and then allowing it to dry completely. Once the floor is dry, it is important to check for any imperfections and to fill any gaps or cracks with a suitable filler. Additionally, it is important to probe with a sharp implement, like a bradawl, to detect the presence of internal decay in large-section timbers. It is also essential to consider the presence of water or condensate pipes in the sub-floor voids, and to take extra care around these areas, especially where timbers are located, to prevent any potential damage.
When applying the finish, it is important to use the correct tools and materials. A brush or roller is typically used to apply the finish, and a cloth or sponge can be used to spread it evenly. It is also important to use a high-quality finish that is suitable for the type of wood and the amount of traffic the floor will receive. Additionally, it is crucial to consider the current relevant national building regulations when selecting a finish. For example, in England, Wales, and Northern Ireland, the floor should achieve a thermal transmittance (U-value) of no more than 0.25 W/mK to comply with building regulations. In Scotland, the floor should achieve a thermal transmittance (U-value) of at least 0.18 W/m2K. To achieve this standard, please refer to the manufacturers guidance for this level of performance, although this may vary depending on the floor type, shape, and size. In all circumstances, the area weighted U-value must be calculated in accordance with the conventions in the current version of BR443 conventions for calculating U-values.
By following these steps and considering the relevant building regulations, you can achieve a beautifully finished wooden floor that meets both aesthetic and functional requirements.
Maintaining Your Finished Wooden Floor
Maintaining a finished wooden floor is essential to ensure its longevity and beauty. To maintain the floor, it is important to follow a regular cleaning and care routine. This includes vacuuming the floor regularly to remove any dirt and debris, and using a damp cloth to wipe away any spills or stains. It is also important to avoid using harsh chemicals or abrasive cleaning products, as these can damage the finish.
In addition to regular cleaning and care, it is important to inspect the floor regularly for any signs of damage or wear. If any damage or wear is detected, it is important to address it as soon as possible. This may involve sanding and refinishing the floor, or replacing any damaged boards. It is also important to thoroughly investigate all suspect timbers near actual or potential sources of dampness, and any showing evidence of fungal growths. Probe with a sharp implement, like a bradawl, to detect the presence of internal decay in large-section timbers. Additionally, probe carefully where timbers, such as purlins and joist ends, enter walls, as decay can be localized.
By following these maintenance practices and taking the necessary precautions, you can ensure that your finished wooden floor remains in excellent condition, preserving its longevity and beauty for years to come.
Expert Advice from GJP Floor Sanding
The experts at GJP Floor Sanding have a deep understanding of the current relevant national building regulations when it comes to selecting a finish for your wooden floor. We can provide valuable advice on the specific regulations that need to be considered, ensuring that your floor meets the required standards.
In addition to our knowledge of building regulations, GJP Floor Sanding offers a comprehensive range of services to help you achieve the best possible result for your wooden floor. We specialize in sanding and refinishing the floor, which can breathe new life into worn-out surfaces. If there are any damaged boards, we have the expertise to replace us seamlessly, ensuring a uniform and flawless appearance.
GJP Floor Sanding also takes the time to thoroughly investigate any suspect timbers near potential sources of dampness. By probing with a sharp implement, we can identify any underlying issues that may affect the choice of finish and take appropriate measures to address them.
When it comes to applying the finish, GJP Floor Sanding can provide guidance on the correct tools and materials to use. We understand the importance of using high-quality finishes that are suitable for your specific wood type and the amount of traffic the floor will receive. By following our advice, you can achieve a smooth, even, and durable finish that enhances the beauty of your wooden floor.
Overall, GJP Floor Sanding’s expertise and services can ensure that your wooden floor is properly prepared and finished, meeting both aesthetic and functional requirements.
Contact GJP Floor Sanding for Professional Assistance
Preparing a wooden floor for a finish is a complex process that requires knowledge of the relevant building regulations, expertise in the use of the correct tools and materials, and consideration of various factors such as sub-floor ventilation, moisture control barriers, cold bridging, and protected species. For this reason, it is crucial to consider hiring a professional like GJP Floor Sanding to ensure the best possible result.
GJP Floor Sanding offers a comprehensive range of services to assist with preparing a wooden floor for a finish. We specialize in sanding and refinishing the floor, ensuring a smooth and flawless surface. We can seamlessly replace any damaged boards and thoroughly investigate any suspect timbers near potential sources of dampness. We can also provide guidance on the correct tools and materials to use, taking into account factors such as sub-floor ventilation, moisture control barriers, cold bridging, and protected species.
By hiring a professional like GJP Floor Sanding, you can have peace of mind knowing that your wooden floor will be prepared and finished according to the highest standards. Our expertise and attention to detail will ensure a beautifully finished floor that not only enhances the aesthetics of your space but also takes into consideration important factors like sub-floor ventilation, moisture control barriers, cold bridging, and protected species. To get in touch with GJP Floor Sanding for further advice or professional services, you can visit our website or contact us directly via phone or email.