
Understanding the Importance of Even and Consistent Sanding for Wood Floors
Even and consistent sanding is crucial for wood floors because it helps to achieve a smooth and even finish. This is important for both the aesthetic appeal of the floor and its overall durability. Uneven sanding can result in an uneven surface, which can make the floor look unattractive and can also create potential tripping hazards. Inconsistent sanding can lead to variations in the depth of the sanding, which can result in an uneven finish and can also cause the floor to wear unevenly over time.
The type of wood floor can affect the sanding process in several ways. Harder woods, such as oak and maple, may require more aggressive sanding techniques to remove the top layer and reveal a fresh surface. Softer woods, such as pine and cedar, may require gentler sanding to avoid removing too much material. Additionally, the condition of the floor will also impact the sanding process. Floors in good condition may only require light sanding, while floors in poor condition may require more aggressive sanding to address deeper scratches and dents.
The potential risks of uneven and inconsistent sanding include an uneven finish, scratches, and gouges in the wood. Aggressive sanding can cause the wood to become scratched or gouged, while inconsistent sanding can result in variations in the depth of the sanding, leading to an uneven finish. These issues not only affect the appearance of the floor but can also impact its overall durability and longevity. It is important to use the correct sandpaper grits for each stage of the sanding process and to sand in the same direction as the grain of the wood to avoid creating new scratches or marks.
Identifying Your Specific Type of Wood Floor

To identify your specific type of wood floor, you can look for clues such as the type of finish, the color of the wood, and the grain pattern. Solid wood floors typically have a natural finish and a distinct grain pattern, while engineered wood floors may have a glossy finish and a more uniform grain pattern. Laminate floors usually have a plastic-like finish and a more uniform grain pattern. Additionally, if your floor is accessible from below, you can inspect the joists and floorboards to determine the type of wood used.
The type of wood floor can affect the sanding process in several ways. Harder woods, such as oak and maple, may require more aggressive sanding techniques to remove the top layer and reveal a fresh surface. Softer woods, such as pine and cedar, may require gentler sanding to avoid removing too much material. Additionally, the condition of the floor will also impact the sanding process. Floors in good condition may only require light sanding, while floors in poor condition may require more aggressive sanding to address deeper scratches and dents.
When insulating your floor, it is important to leave room for expansion around the edges of each room and seal the gaps between the floorboards and along the skirting to reduce draughts. This will help prevent damage to the floor and ensure proper insulation.
The Role of Wood Floor Preparation in Ensuring Even Sanding
Proper preparation of a wood floor is essential for ensuring even and consistent sanding. The first step is to remove any furniture, rugs, and other items from the room to provide access to the entire floor. Next, the floor should be thoroughly vacuumed or swept to remove any dirt and debris that could cause scratches or dents during the sanding process.
Once the floor is clean, it is important to inspect the floor for any existing damage, such as deep scratches, large dents, water damage, or structural issues. Any existing damage should be addressed before sanding begins. This may involve repairing or replacing damaged boards, filling in gaps between floorboards, or addressing any underlying structural issues.
After addressing any damage, the floor should be prepared for sanding. This includes sealing any gaps between the floorboards and along the skirting to reduce draughts. It is also important to choose the correct sandpaper grits for each stage of sanding to achieve the desired smoothness. Coarser grits are typically used for initial sanding to remove any existing finishes or deep scratches, while finer grits are used for final sanding to achieve a smooth and even finish.
During the sanding process, it is important to sand in the same direction as the grain of the wood to avoid creating new scratches or marks. This will help ensure an even and consistent sanding result.
By following these steps and properly preparing the wood floor for sanding, homeowners and business owners can achieve a smooth and even finish for their floors.
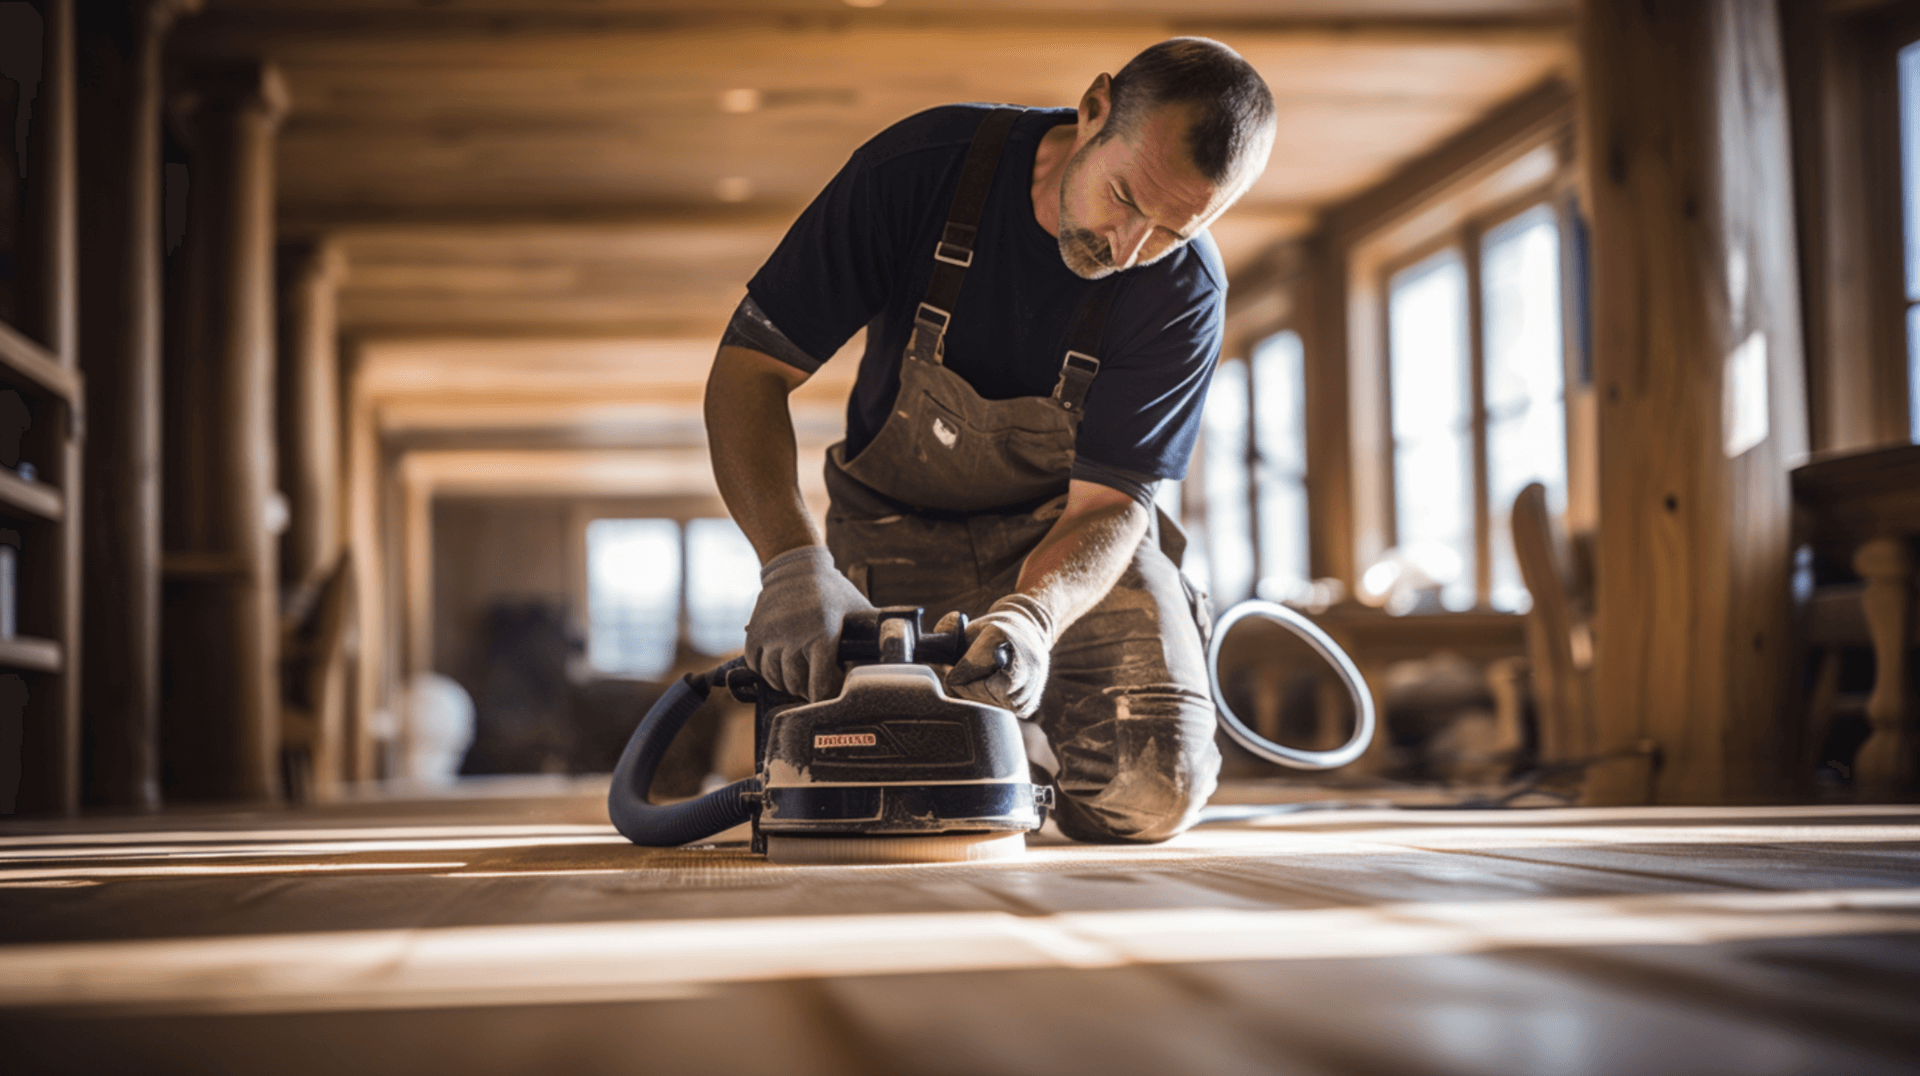
Selecting the Right Sanding Equipment for Your Wood Floor
When selecting the right sanding equipment for your wood floor, it is important to consider the type of wood, the condition of the floor, and the desired finish. There are several types of sanders available for wood floor sanding, each with its own advantages and disadvantages.
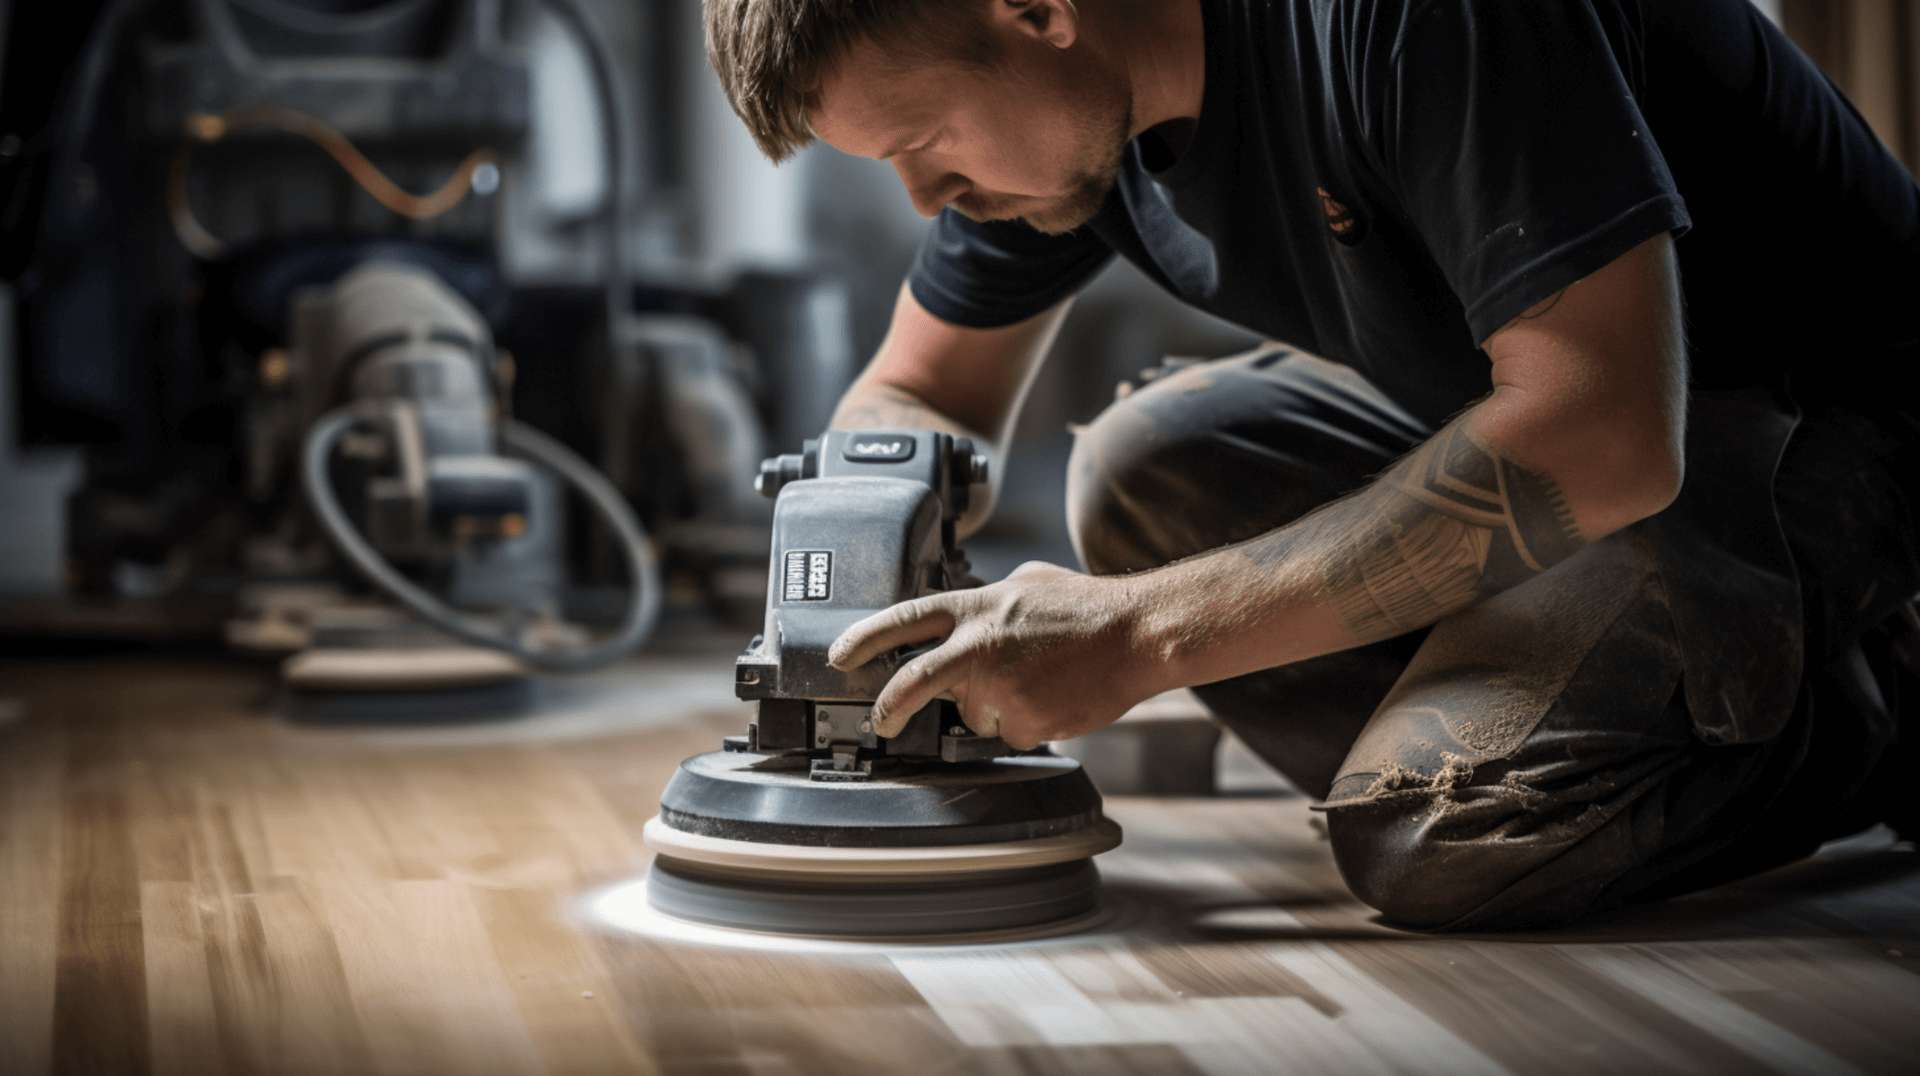
Drum Sanders are the most powerful type of sander and are best suited for large areas of flooring. They are ideal for removing deep scratches and dents, as well as for sanding down existing finishes. they can be difficult to control and can cause uneven sanding if not used properly. It is important to check the manufacturer’s technical information to ensure the sander is suitable for the specific application.
Orbital Sanders are less powerful than drum sanders and are best suited for smaller areas of flooring. They are ideal for light sanding and for removing existing finishes. They are also easier to control than drum sanders, making them a good choice for novice sanders.
Edge Sanders are designed for sanding along the edges of the floor, such as along the skirting boards. They are ideal for removing existing finishes and for sanding tight corners.
Hand Sanders are the least powerful type of sander and are best suited for small, detailed areas that cannot be reached with larger sanders. They are ideal for sanding stairs, corners, and other hard-to-reach areas.
The choice of sander will depend on the specific needs of your wood floor. If you have a large area to sand or need to remove deep scratches and dents, a drum sander may be the best choice. If you have smaller areas or need to remove existing finishes, an orbital sander or an edge sander may be more suitable. It is important to consider the type of wood and the condition of the floor when selecting the right sanding equipment to ensure an even and consistent sanding result.
Understanding the Sanding Process: From Start to Finish

Understanding the Sanding Process: From Start to Finish
The sanding process is an important step in maintaining and restoring wooden floors. It involves several key steps that contribute to achieving even and consistent sanding. By understanding these steps and avoiding common mistakes, homeowners and business owners can successfully sand their floors.
Preparation: The first step in the sanding process is preparation. This involves removing any furniture, rugs, and other items from the room to provide access to the entire floor. The floor should then be thoroughly vacuumed or swept to remove any dirt and debris that could cause scratches or dents during sanding. Any existing damage, such as deep scratches or gaps between floorboards, should be addressed before sanding begins. Additionally, it is important to seal any gaps between the floorboards and along the skirting to reduce draughts.
Sanding: Once the floor is prepared, the sanding process can begin. It is important to choose the correct sandpaper grits for each stage of sanding to achieve the desired smoothness. Coarser grits are typically used for initial sanding to remove existing finishes or deep scratches, while finer grits are used for final sanding to achieve a smooth and even finish. Sanding should be done in the same direction as the grain of the wood to avoid creating new scratches or marks.
Finishing: After sanding, the floor should be thoroughly cleaned to remove any dust or debris. This can be done by vacuuming or sweeping, followed by wiping the floor with a damp cloth. Once the floor is clean and dry, a protective sealant or finish can be applied. This helps to enhance the appearance of the floor and protect it from future damage.
Common mistakes to avoid during the sanding process include using the wrong sandpaper grits, sanding against the grain of the wood, and not properly cleaning the floor before finishing. Using the wrong sandpaper grits can result in an uneven finish, while sanding against the grain can create new scratches or marks. Failing to clean the floor properly before finishing can lead to a poor bond between the floor and the sealant or finish.
By following these key steps and avoiding common mistakes, homeowners and business owners can achieve even and consistent sanding, resulting in a beautiful and durable wooden floor.
The Importance of Choosing the Correct Sandpaper Grit

Choosing the right sandpaper grit is essential for achieving even and consistent sanding of a wood floor. Different types of sandpaper grits are available, each with its own advantages and disadvantages. Coarser grits, such as 40-60 grit, are typically used for initial sanding to remove existing finishes or deep scratches. Medium grits, such as 80-100 grit, are used for further sanding to remove any remaining scratches and prepare the floor for finishing. Fine grits, such as 120-150 grit, are used for final sanding to achieve a smooth and even finish.
The choice of sandpaper grit can affect the sanding process in several ways. Coarser grits can remove existing finishes and deep scratches more quickly, but they can also cause more scratches and gouges in the wood. Finer grits are less aggressive and can achieve a smoother finish, but may take longer to remove existing finishes and deep scratches.
When selecting the right sandpaper grit for your specific type of wood floor, it is important to consider the type of wood and the condition of the floor. Harder woods, such as oak and maple, may require more aggressive sanding techniques to remove the top layer and reveal a fresh surface. Softer woods, such as pine and cedar, may require gentler sanding to avoid removing too much material. Additionally, the condition of the floor will also impact the sanding process. Floors in good condition may only require light sanding, while floors in poor condition may require more aggressive sanding to address deeper scratches and dents.
By choosing the correct sandpaper grit for your specific wood floor, you can achieve even and consistent sanding results, resulting in a smooth and beautiful finish.
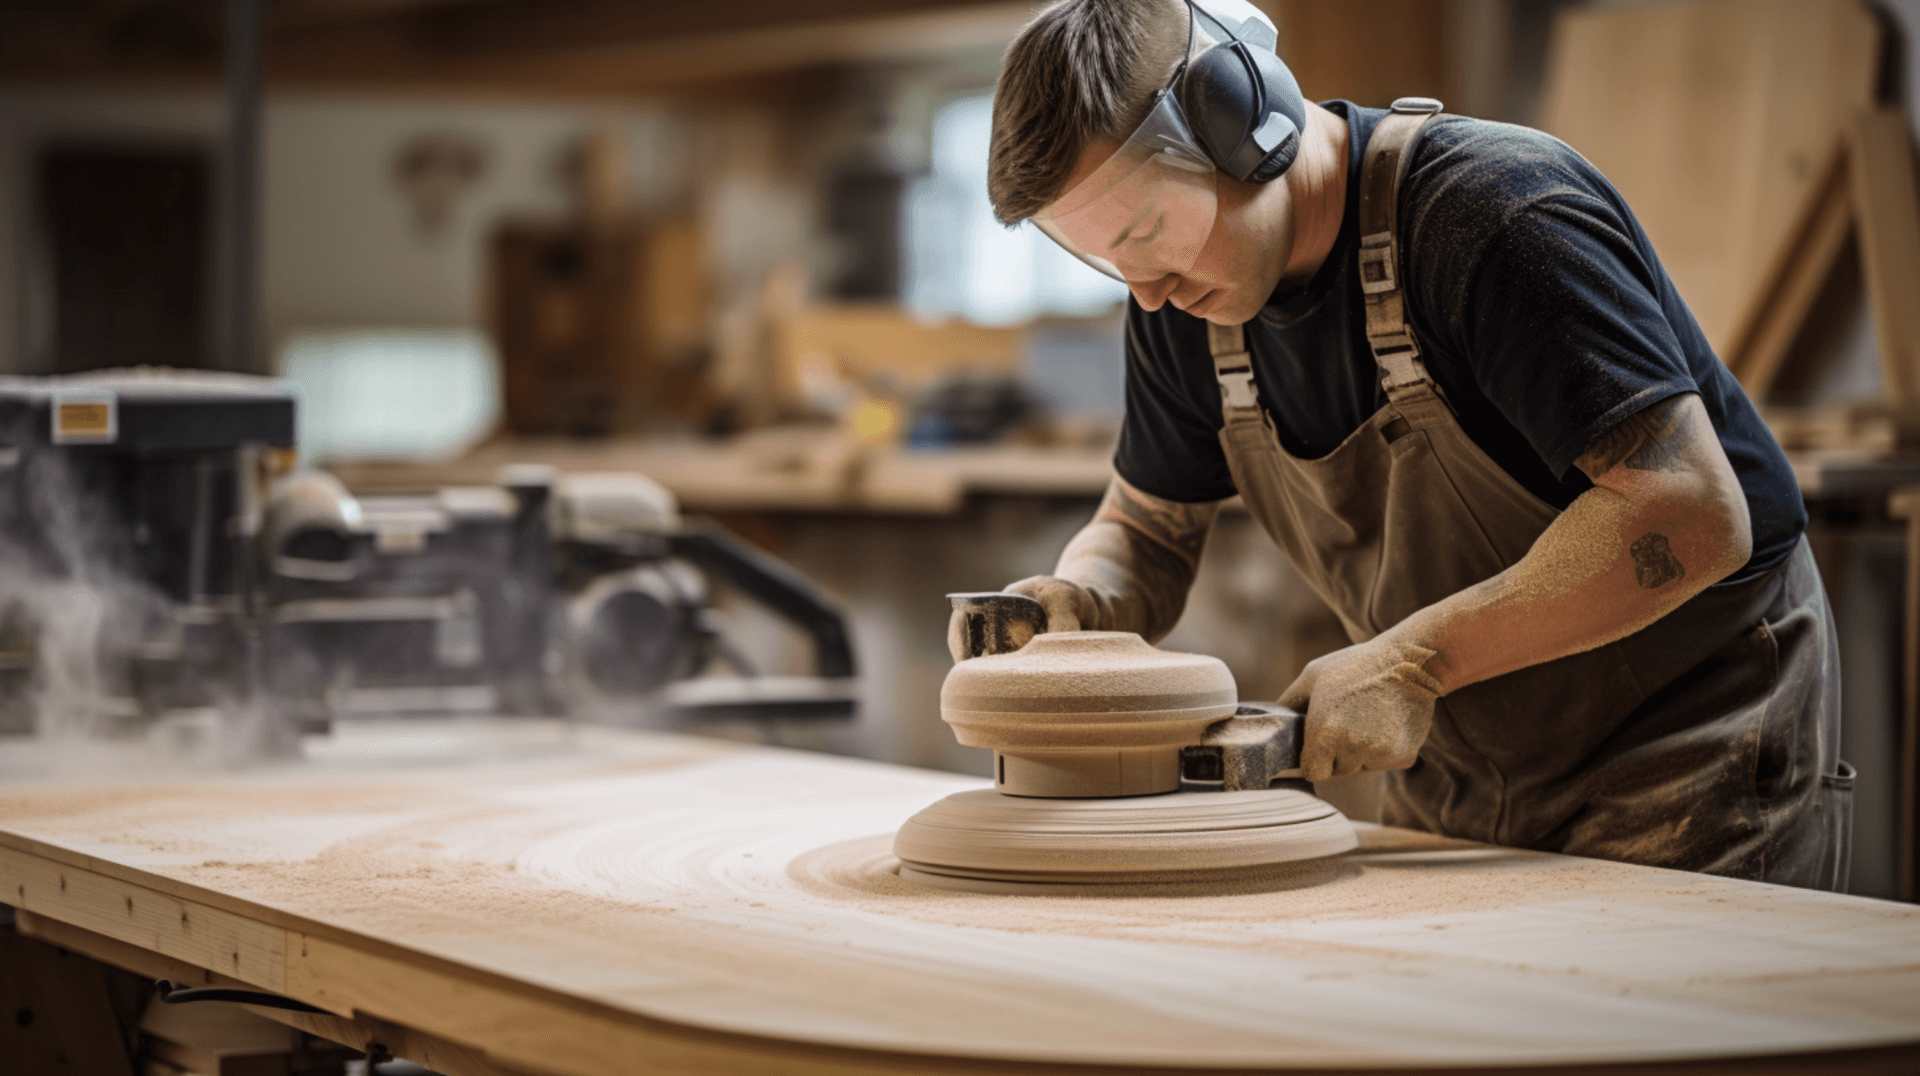
Mastering Sanding Techniques for Different Types of Wood Floors

Mastering Sanding Techniques for Different Types of Wood Floors
Sanding techniques for strip and plank wood floors involve starting with a coarse grit sandpaper to remove existing finishes or deep scratches. The sander should be moved in the same direction as the grain of the wood to avoid creating new scratches. After removing the existing finishes and deep scratches, switch to a medium grit sandpaper to further sand the floor. Finally, use a fine grit sandpaper to achieve a smooth and even finish. Thoroughly clean the floor to remove dust and debris before applying a protective sealant or finish.
For parquet wood floors, an orbital sander or an edge sander is recommended. Start with a coarse grit sandpaper to remove old finishes and level the floor. Sand in a criss-cross pattern to ensure an even finish. Use an edge sander with a medium grit sandpaper to sand the edges and corners. Finish with an orbital sander and a fine grit sandpaper for a smooth and even result. Clean the floor thoroughly before applying a protective sealant or finish.
To adapt these techniques for your specific wood floor, consider the type of wood, the floor’s condition, and the desired finish. Harder woods may require more aggressive sanding, while softer woods may need gentler sanding. Adjust the sandpaper grits and sanding techniques accordingly. By understanding the best sanding techniques for your wood floor and adapting them to your specific needs, you can achieve even and consistent results.
Ensuring Safety During the Sanding Process

Ensuring Safety During the Sanding Process:
Safety is of the utmost importance when sanding a wood floor. To ensure a safe sanding process, it is important to take the following safety measures:
- Wear Protective Gear: When sanding a wood floor, always wear protective gear, such as safety glasses, a dust mask, and ear protection. This will help protect you from any dust or debris that may be created during the sanding process.
- Check for Electrical Cables: Before beginning the sanding process, carefully inspect the floor for any electrical cables or wiring. If any cables are found, mark them and avoid sanding over them to prevent electrical hazards.
- Check for Nails and Staples: Inspect the floor for any nails or staples that may have been used to secure the floorboards. Remove any protruding nails or staples to prevent injuries during sanding.
- Ventilate the Room: Proper ventilation is crucial to minimize the amount of dust in the air. Open windows and doors to allow fresh air to circulate, or use fans to improve air circulation. This will help prevent respiratory issues and improve overall air quality.
- Clean Up Regularly: Regularly clean up dust and debris during the sanding process to maintain a safe working environment. Use a vacuum with a HEPA filter or a dust extraction system to effectively capture and remove dust.
- Use Proper Sanding Techniques: Follow proper sanding techniques, such as sanding in the same direction as the grain of the wood, to avoid creating new scratches or marks that could lead to accidents.
In case of a sanding accident, such as a cut or injury, it is important to have a first aid kit readily available. Treat the injury immediately and seek medical attention if necessary. It is also important to report the accident to the appropriate authorities and take steps to prevent similar accidents in the future.
By following these safety measures, you can ensure a safe sanding process and protect yourself, your property, and your workers from potential hazards.
PostSanding: Cleaning and Maintenance Tips

Cleaning and maintaining your wood floor after sanding is essential for preserving the results of the sanding process. Here are some tips for cleaning and maintaining your wood floor:
Cleaning: After sanding, the floor should be thoroughly cleaned to remove any dust or debris. This can be done by vacuuming or sweeping, followed by wiping the floor with a damp cloth. For regular cleaning, use a dust mop or a vacuum with a soft brush attachment to remove dirt and debris. Avoid using a traditional mop and bucket, as this can apply too much moisture to the wood floor and cause damage. Do not clean the floor with scrubbing machinery or power scrubbers, unless the flooring and finish manufacturer recommends doing so. Do not use steam-cleaners on wood floors, as water in a vapor form will penetrate the wood fibers and cause irreversible damage to the wood flooring and the finish.
Maintenance: To preserve the results of sanding, it is important to take the necessary maintenance steps. This includes using walk-off mats at all doorways to reduce dirt and debris, wiping up spills or any other moisture on the floor immediately, and removing heel marks/scratches with a soft cloth or a recommended wood floor cleaner. Avoid dragging heavy furniture across the floor, as this can cause scratches. Additionally, it is important to periodically inspect the floor for any signs of damage or wear and address them promptly.
By following these cleaning and maintenance tips, you can ensure that your wood floor remains clean, beautiful, and protected after sanding. Regular cleaning and maintenance will help to extend the life of your floor and preserve the results of the sanding process.
Troubleshooting Common Sanding Problems

Common problems encountered during the sanding process include uneven sanding, deep scratches, and gouges in the wood. These problems can occur when the wrong sandpaper grits are used, when sanding is done against the grain of the wood, or when the sander is not moved in a consistent pattern.
To resolve these problems and ensure even and consistent sanding, it is important to choose the correct sandpaper grits for each stage of sanding. Coarser grits should be used for initial sanding to remove existing finishes or deep scratches, while finer grits should be used for final sanding to achieve a smooth and even finish. Sanding should always be done in the same direction as the grain of the wood to avoid creating new scratches or marks.
If you encounter deep scratches or gouges that you are unable to resolve on your own, it may be necessary to seek professional help. Professional floor sanders have the experience and expertise to identify and address these issues. They can provide guidance on the correct sandpaper grits to use and the proper sanding techniques to achieve the desired results. Seeking professional help can save time, prevent further damage to the wood floor, and ensure a high-quality finish.
Expert Advice: Tips and Tricks from GJP Floor Sanding Professionals
Expert Advice: Tips and Tricks from GJP Floor Sanding Professionals
Achieving even and consistent sanding results for your wood floor requires careful attention to detail and the use of proper techniques. Here are some insider tips from GJP Floor Sanding professionals to help you achieve top-quality results:
- Start with the right sandpaper grits: Choosing the correct sandpaper grits for each stage of sanding is crucial. Coarser grits should be used for initial sanding to remove existing finishes or deep scratches, while finer grits should be used for final sanding to achieve a smooth and even finish. GJP Floor Sanding professionals have years of experience and can guide you in selecting the appropriate grit sequence for your specific wood floor.
- Sand in the same direction as the grain of the wood: Always sand in the same direction as the grain of the wood to avoid creating new scratches or marks. This will help ensure even and consistent sanding results.
- Move the sander in a consistent pattern: Consistency is key when using a sander. Moving the sander in a consistent pattern, such as back and forth or in a circular motion, will help achieve even sanding results across the entire floor.
- Clean the floor regularly: Regularly cleaning the floor during the sanding process is essential to remove dust and debris. Use a vacuum with a HEPA filter or a dust extraction system to effectively capture and remove dust, ensuring a clean working environment.
GJP Floor Sanding professionals ensure top-quality sanding results through our years of experience and expertise. We have a deep understanding of different wood types, floor conditions, and sanding techniques. By carefully assessing the specific needs of your wood floor, we can provide tailored solutions to achieve the best possible results.
In addition to sanding, GJP Floor Sanding offers a range of additional services to enhance your wood floor. These services include floor staining, gap filling, and the application of protective sealants or finishes. By combining our sanding expertise with these additional services, GJP Floor Sanding can transform your wood floor into a beautiful and durable surface that will stand the test of time.
Whether you are a homeowner or a business owner, GJP Floor Sanding professionals have the knowledge and skills to deliver top-quality sanding results and enhance the beauty and longevity of your wood floor.
Ready to Achieve Perfectly Sanded Wood Floors? Contact GJP Floor Sanding

To get in touch with GJP Floor Sanding for professional sanding services, simply fill out the contact form on our website. Provide information about the type of wood floor, the condition of the floor, and the desired finish. GJP Floor Sanding will then provide a free, no-obligation quote for the services you require.
When you choose GJP Floor Sanding, you can be sure that you are getting the best possible sanding results. Our experienced professionals have a deep understanding of different wood types, floor conditions, and sanding techniques. We can provide expert advice and guidance on the correct sandpaper grits to use and the proper sanding techniques to achieve the desired results.
GJP Floor Sanding offers a comprehensive range of services to enhance your wood floor, including sanding, staining, gap filling, and the application of protective sealants or finishes. Our professionals can assess the specific needs of your wood floor and provide tailored solutions to enhance its beauty and longevity.
With years of experience and expertise, GJP Floor Sanding is the perfect choice for professional sanding services for your wood floor. Contact us today to get a free quote and discuss your specific requirements.