Introduction: Understanding the Finishing Process for Wood Floors
The finishing process for wood floors involves sanding the floor to remove any existing finish and level the surface, followed by the application of a new finish. This process is important for preserving the beauty and longevity of the floor. It helps to protect the wood from wear and tear, as well as enhance its beauty. A high-quality finish can also increase the value of the home or business.
The type of wood used for the floor will affect the finishing process. Different woods require different techniques and products. Hardwoods such as oak, maple, and ash require a more aggressive sanding process to remove any existing finish and level the surface. Softwoods such as pine and cedar are more prone to scratches and require a gentler sanding process.
The type of wood also affects the number of coats of finish needed for protection. Some woods are more porous than others and require more coats of finish to seal and protect the surface. It is important to use the right tools and materials for the job, such as a drum sander and edger sander for sanding the floor, and a buffer for the final sanding stage.
By understanding the finishing process and considering the type of wood used, home owners and business owners can achieve a high-quality finish for their wood floors, preserving their beauty and ensuring their longevity.
The Role of Wood Type in the Finishing Process
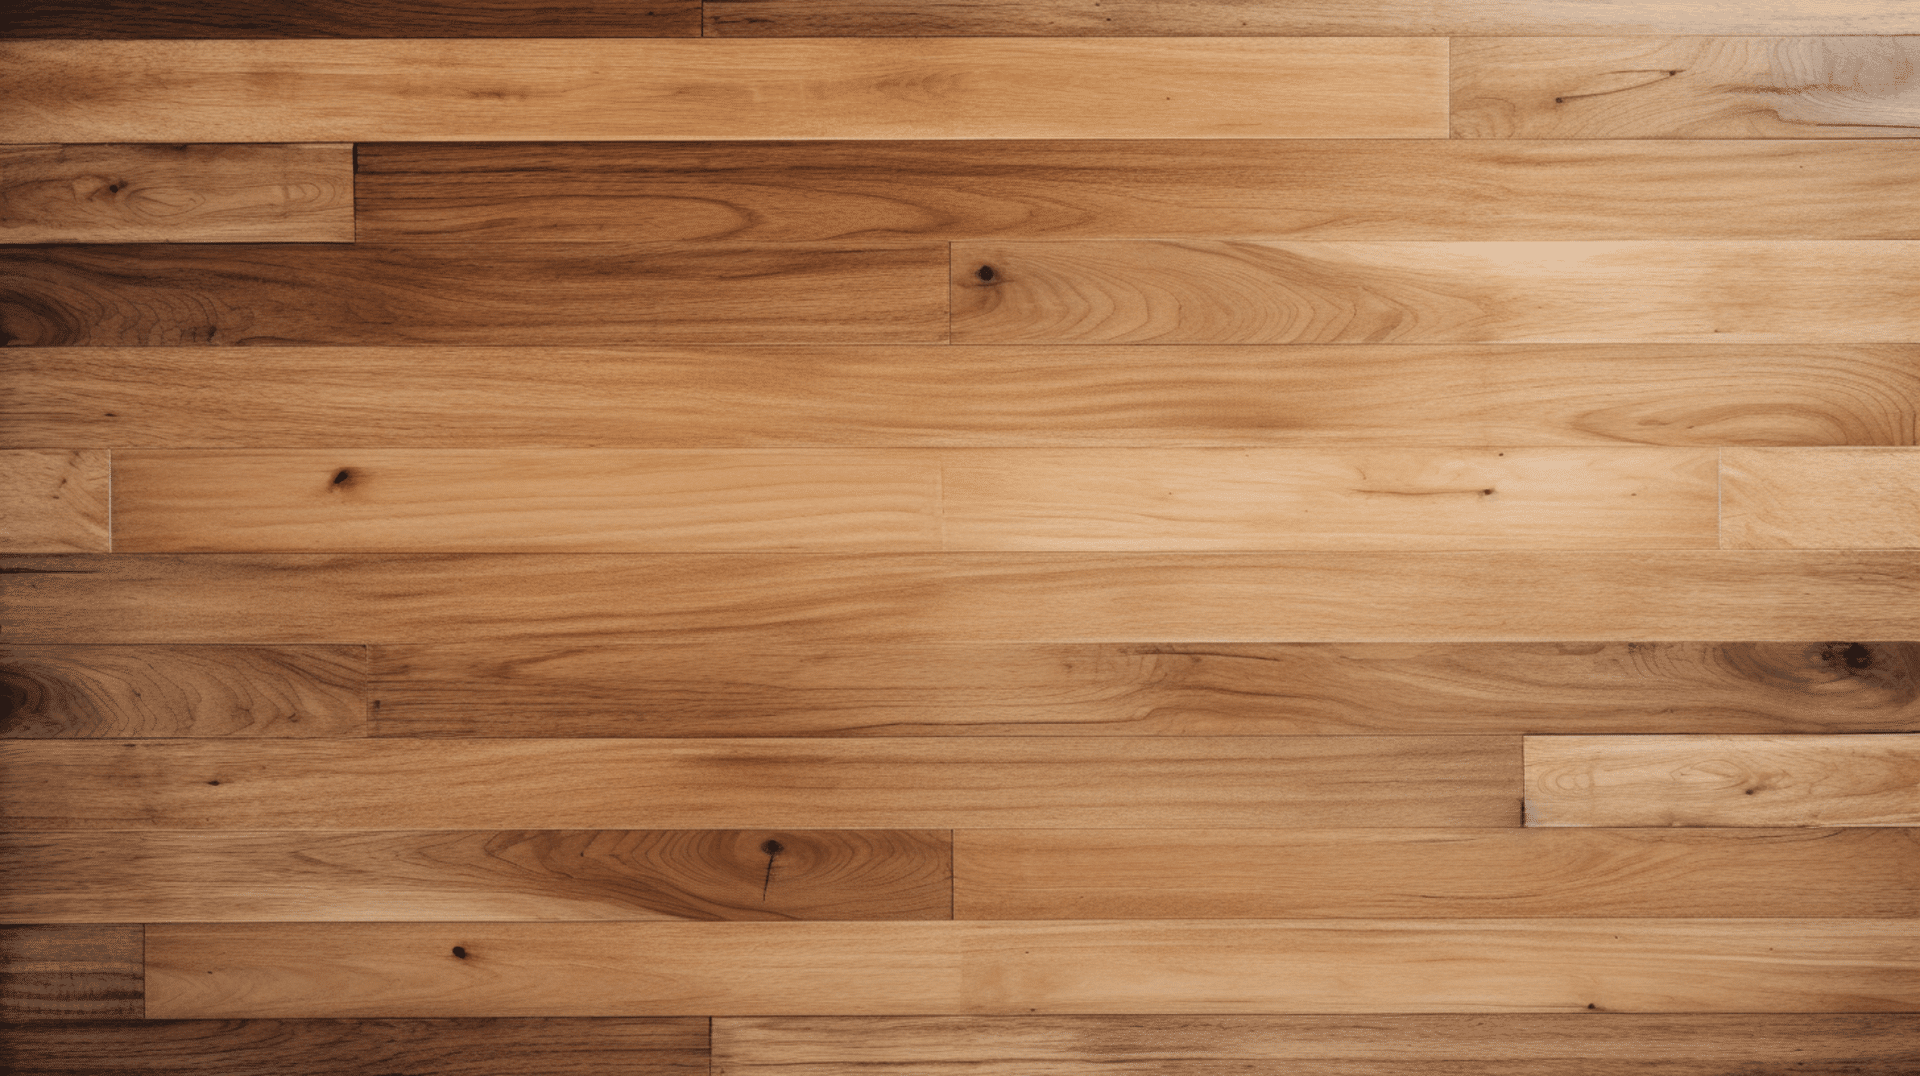
The type of wood used for a floor can have a significant impact on the finishing process. Hardwoods such as oak, maple, and ash require a more aggressive sanding process to remove any existing finish and level the surface. Softwoods such as pine and cedar are more prone to scratches and require a gentler sanding process. Different woods also require different types of finishes. Hardwoods are more porous and require more coats of finish to seal and protect the surface. Softwoods, on the other hand, require fewer coats of finish.
The type of wood also affects the tools and materials used for the job. Hardwoods require more powerful tools such as a drum sander and edger sander for sanding the floor, and a buffer for the final sanding stage. Softwoods require gentler tools and materials.
Identifying the type of wood of your floor is important for the finishing process. To identify the type of wood, look for the grain pattern and color. Hardwoods typically have a more distinct grain pattern and a darker color than softwoods. Additionally, hardwoods are usually more expensive than softwoods.
By understanding the characteristics of different wood types and using the right techniques, tools, and materials, home owners and business owners can achieve a high-quality finish for their wood floors, preserving their beauty and ensuring their longevity.
Factors Influencing the Duration of the Finishing Process
The duration of the finishing process for a wood floor depends on several factors, including the condition of the floor, the size of the floor, the type of wood used, and the type of finish applied.
The condition of the floor is a key factor in determining the duration of the finishing process. If the floor is in good condition, with minimal damage or imperfections, the process will generally take less time. if the floor is in poor condition, with deep scratches, stains, or unevenness, it may require more time to sand and level the surface before applying the finish.
The size of the floor also affects the duration of the finishing process. Larger floors naturally require more time to sand and refinish compared to smaller floors. This is because there is a larger surface area to cover and more time needed to ensure an even and consistent finish.
The type of wood used for the floor is another factor that can impact the duration of the finishing process. Hardwoods, such as oak or maple, are typically denser and may require more sanding and preparation to achieve a smooth surface. Softwoods, like pine or cedar, are generally softer and may require less sanding. Additionally, different woods may have different absorption rates, which can affect the number of coats of finish needed and the drying time between coats.
The type of finish applied can also influence the duration of the finishing process. some finishes require multiple coats and longer drying times between coats, which can extend the overall time needed to complete the process.
By considering these factors, home owners and business owners can better estimate the duration of the finishing process for their wood floors and plan accordingly.
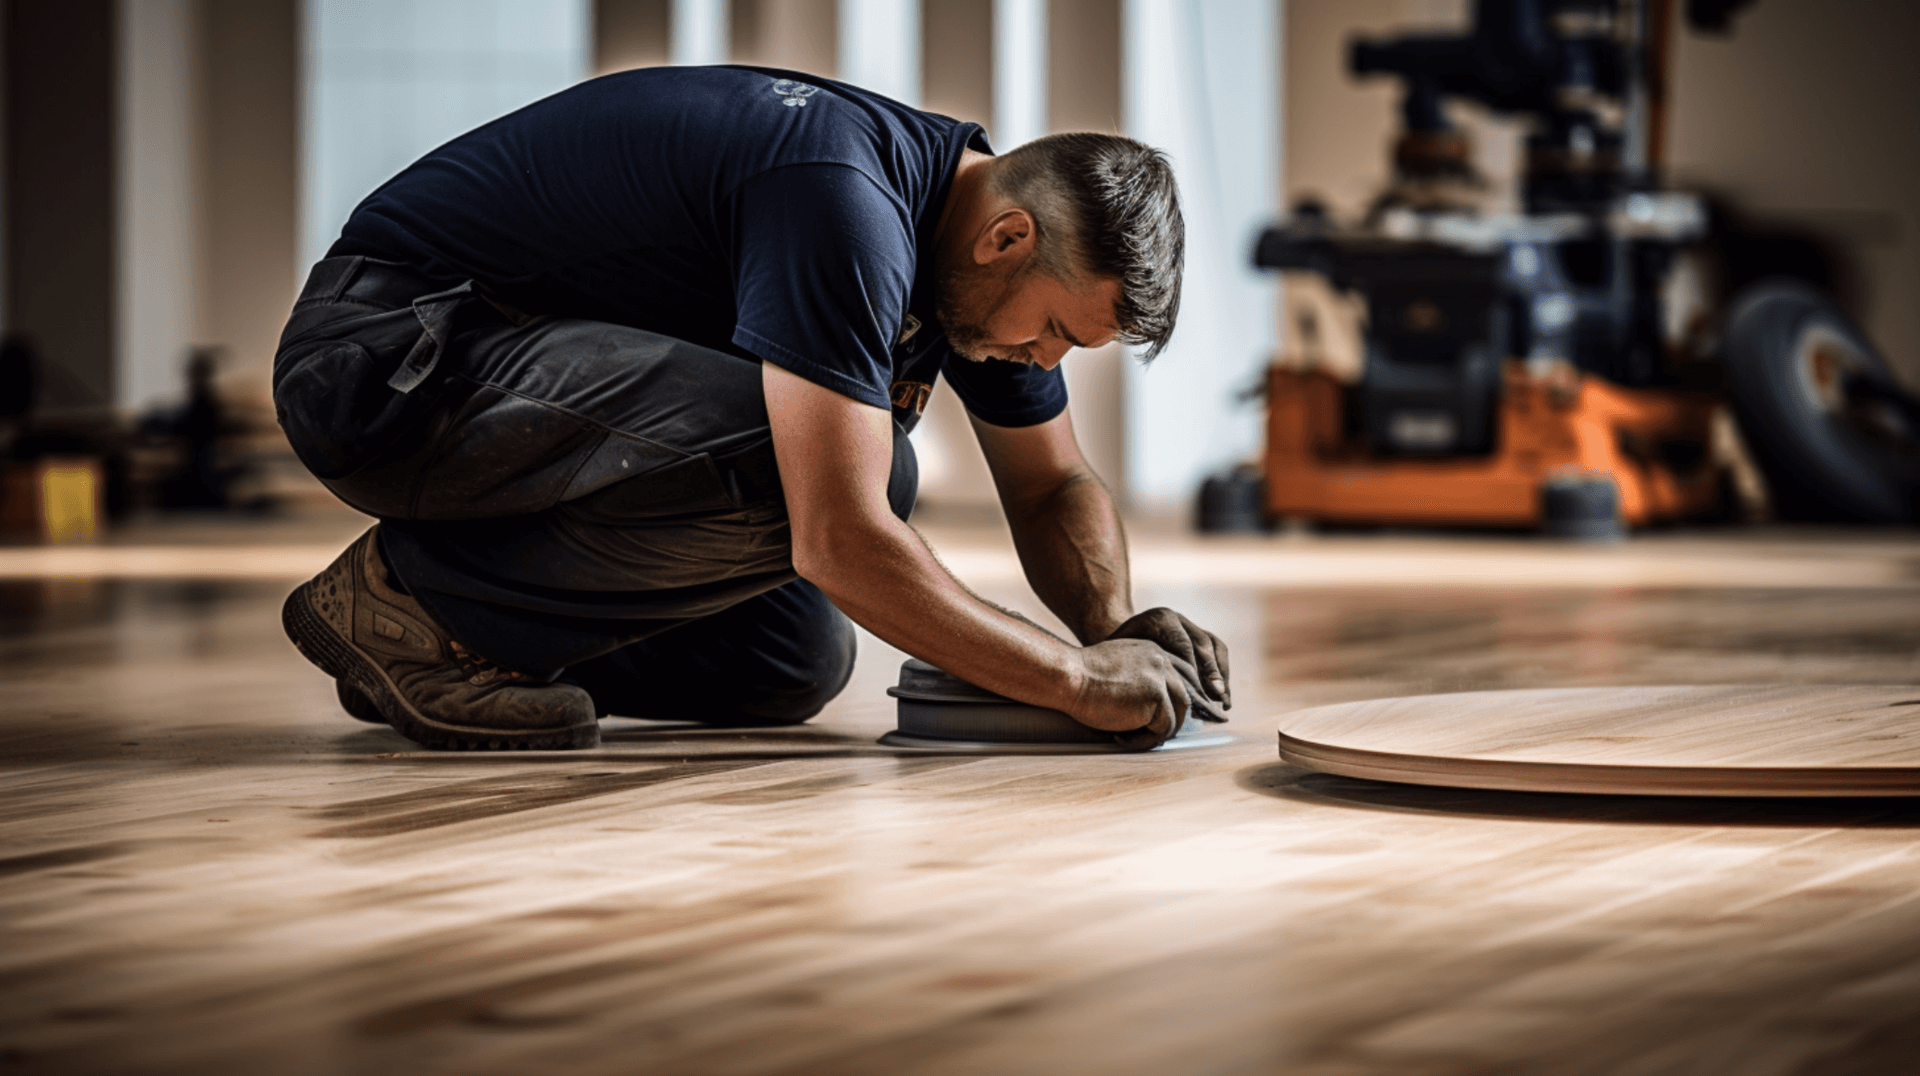
Preparing Your Wood Floor for the Finishing Process
Preparing your wood floor for the finishing process is essential for achieving a high-quality finish and protecting the wood from wear and tear. Proper preparation can also help to reduce the duration of the finishing process.
The first step in preparing your wood floor for the finishing process is to remove any existing finish. This can be done using a drum sander and edger sander to sand the floor and remove any existing finish. It is important to use the right tools and materials for the job, such as a drum sander and edger sander for sanding the floor, and a buffer for the final sanding stage.
The next step is to level the surface of the floor. This is done by sanding the floor with progressively finer grits of sandpaper until the surface is smooth and even. This step is important for achieving a high-quality finish and preventing any imperfections from showing through the finish.
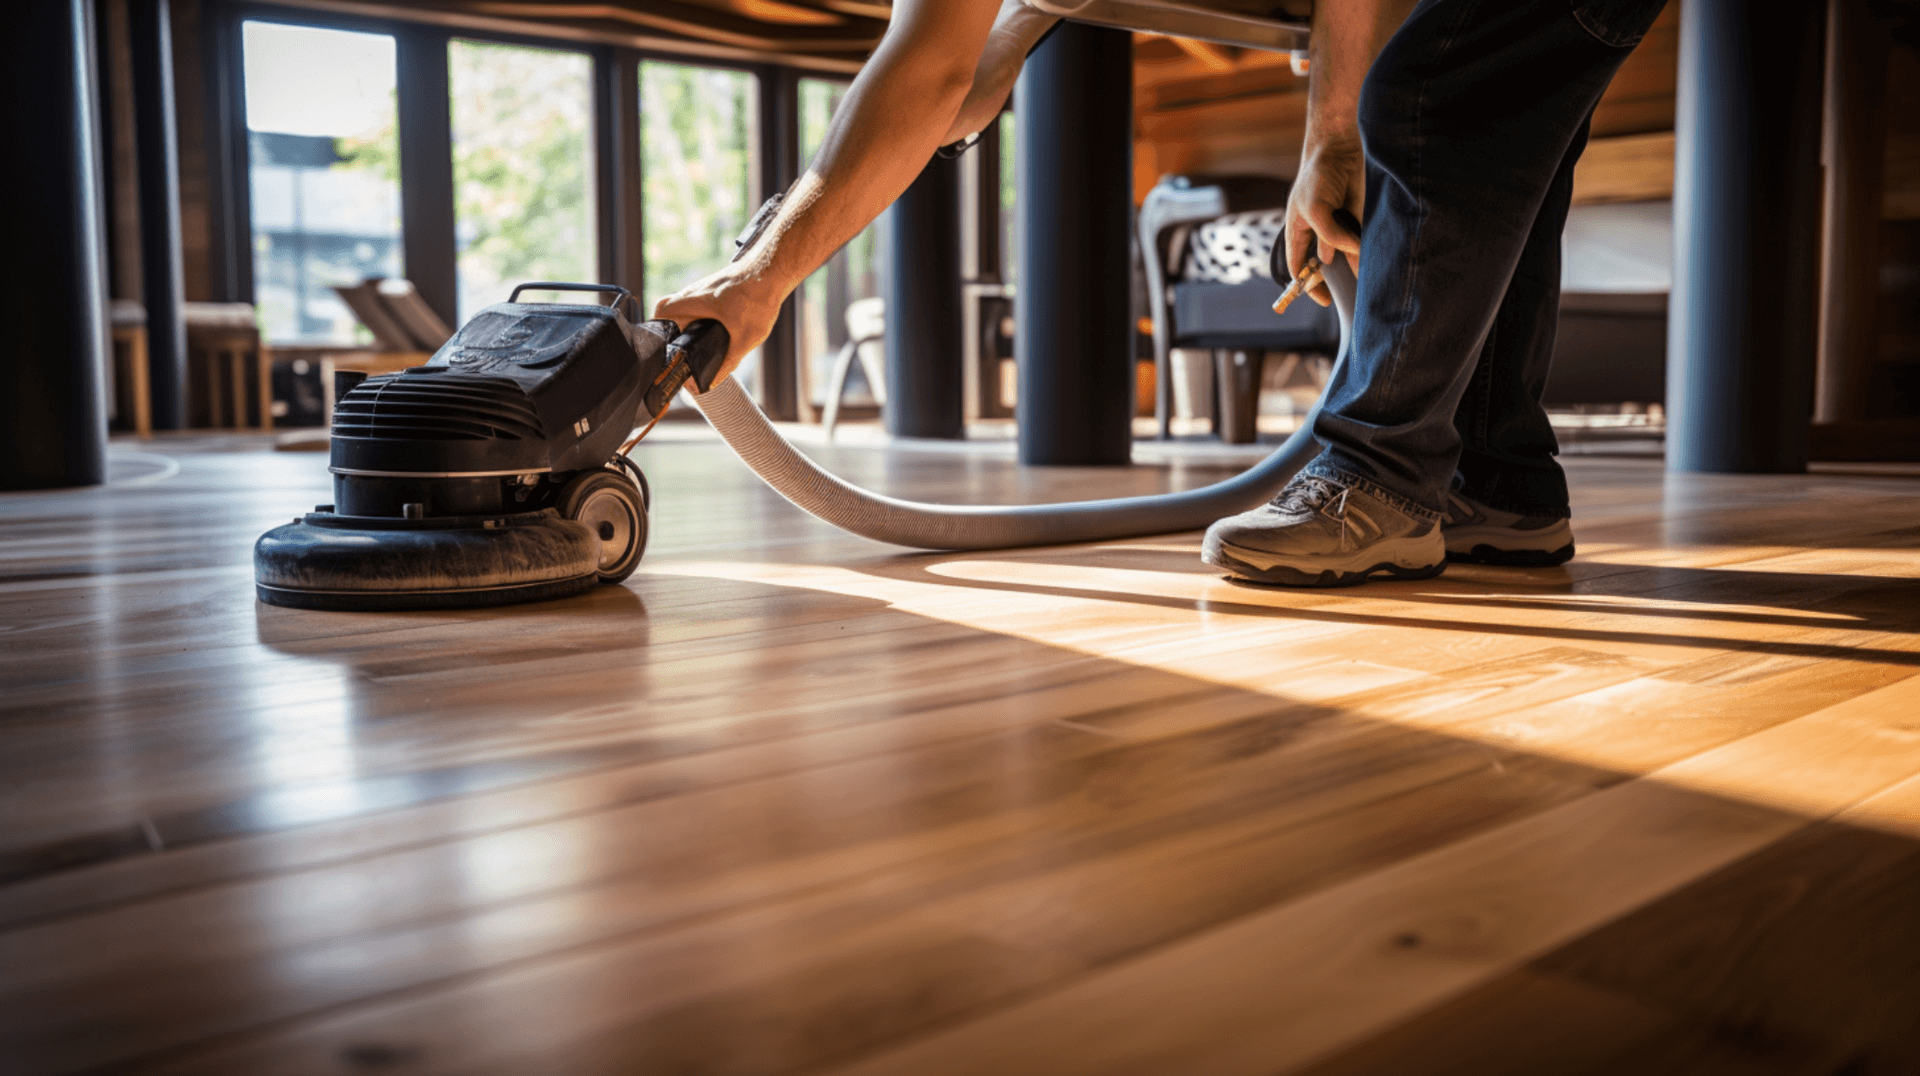
The final step in preparing the wood floor for the finishing process is to clean the floor. This is done by vacuuming the floor to remove any dust and debris, and then wiping the floor with a damp cloth to remove any remaining dirt.
By following these steps and using the right tools and materials, home owners and business owners can properly prepare their wood floors for the finishing process, ensuring a high-quality finish and prolonging the life of the floor.
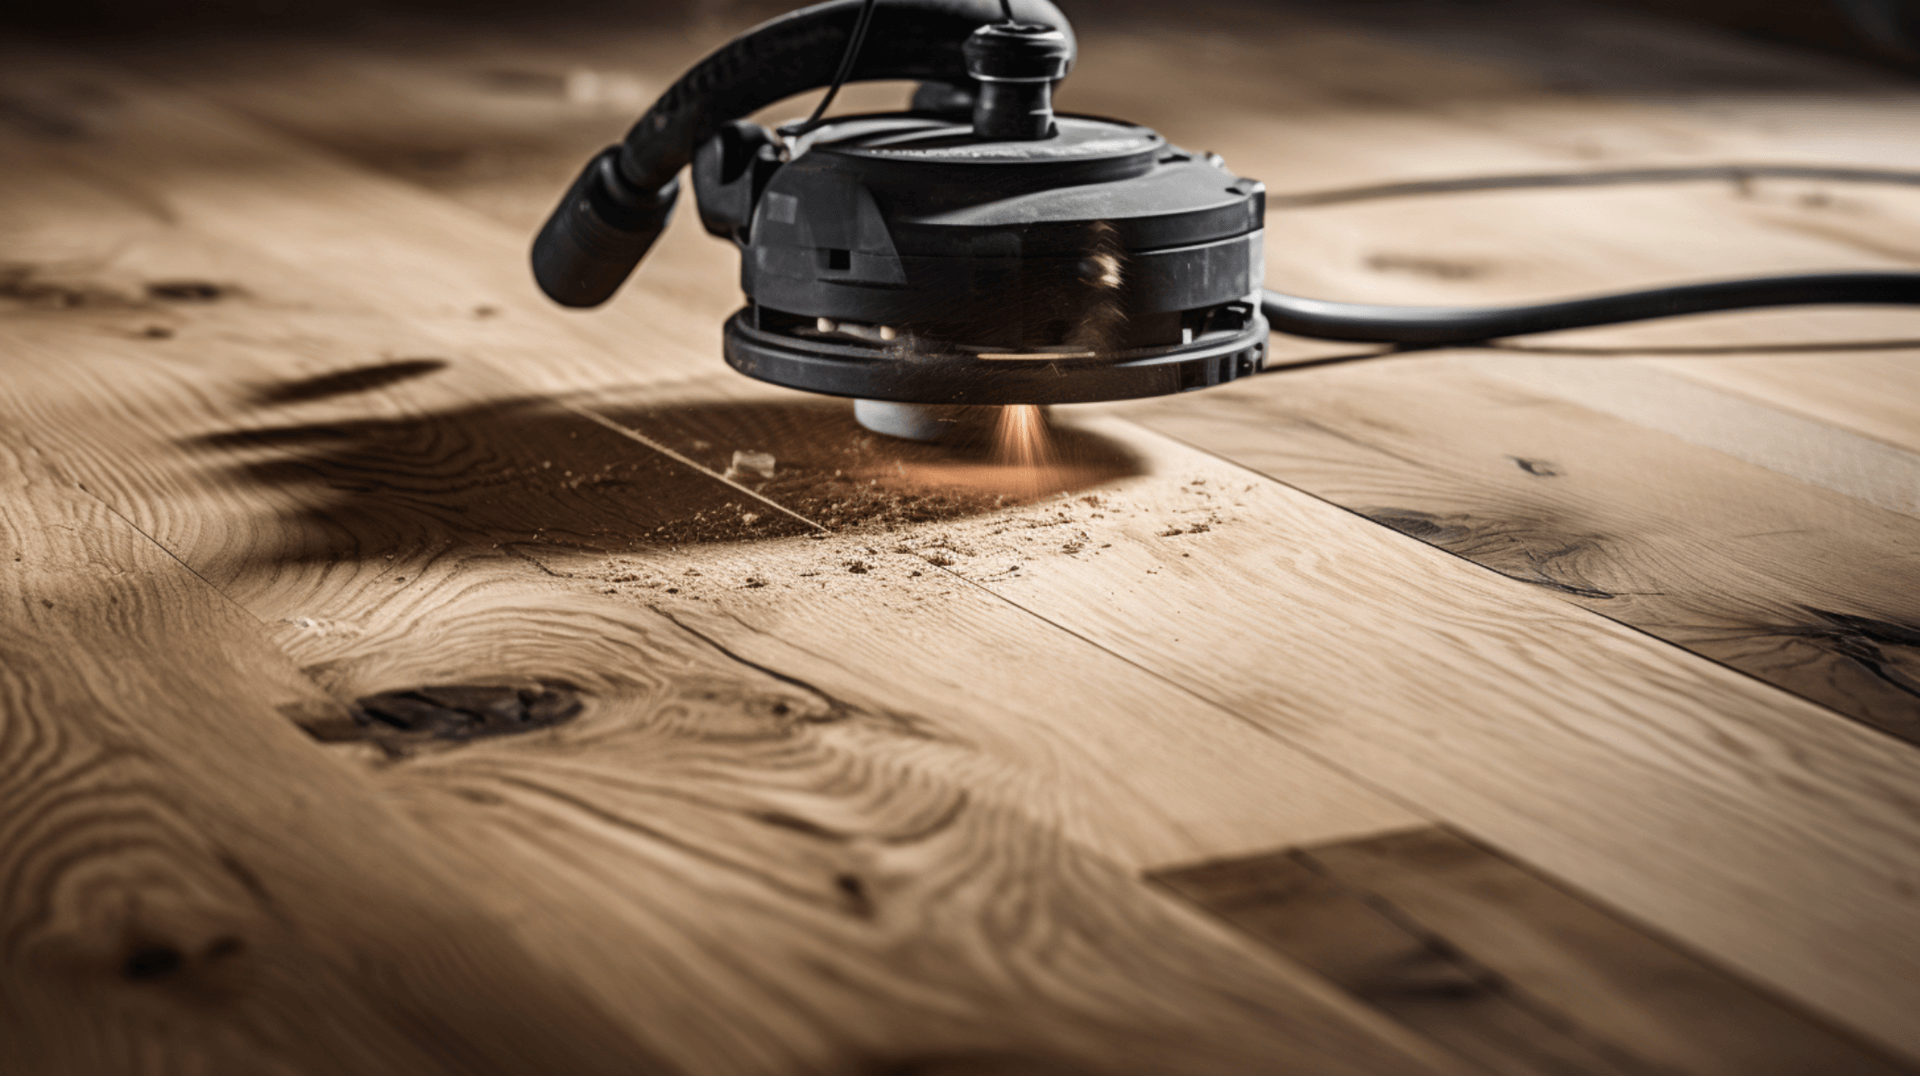
The Role of Sanding in the Finishing Process
The Role of Sanding in the Finishing Process:
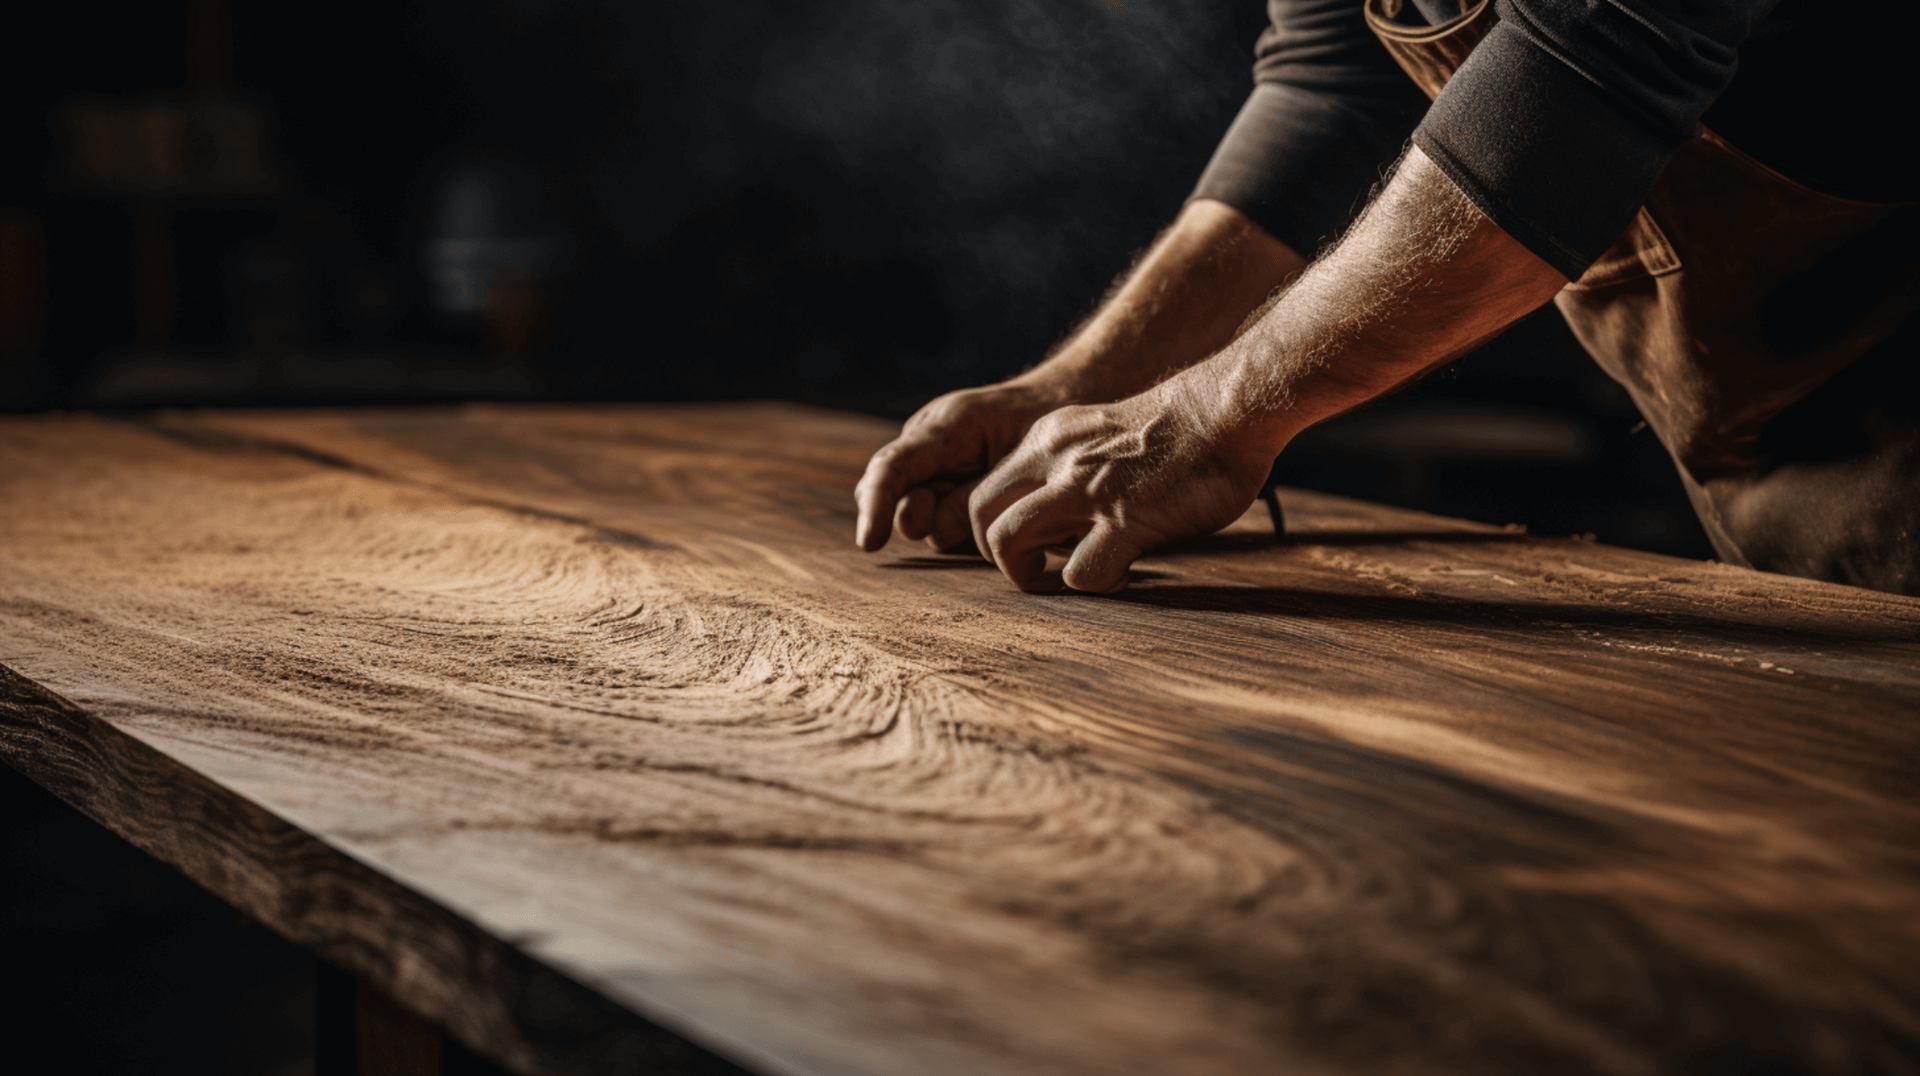
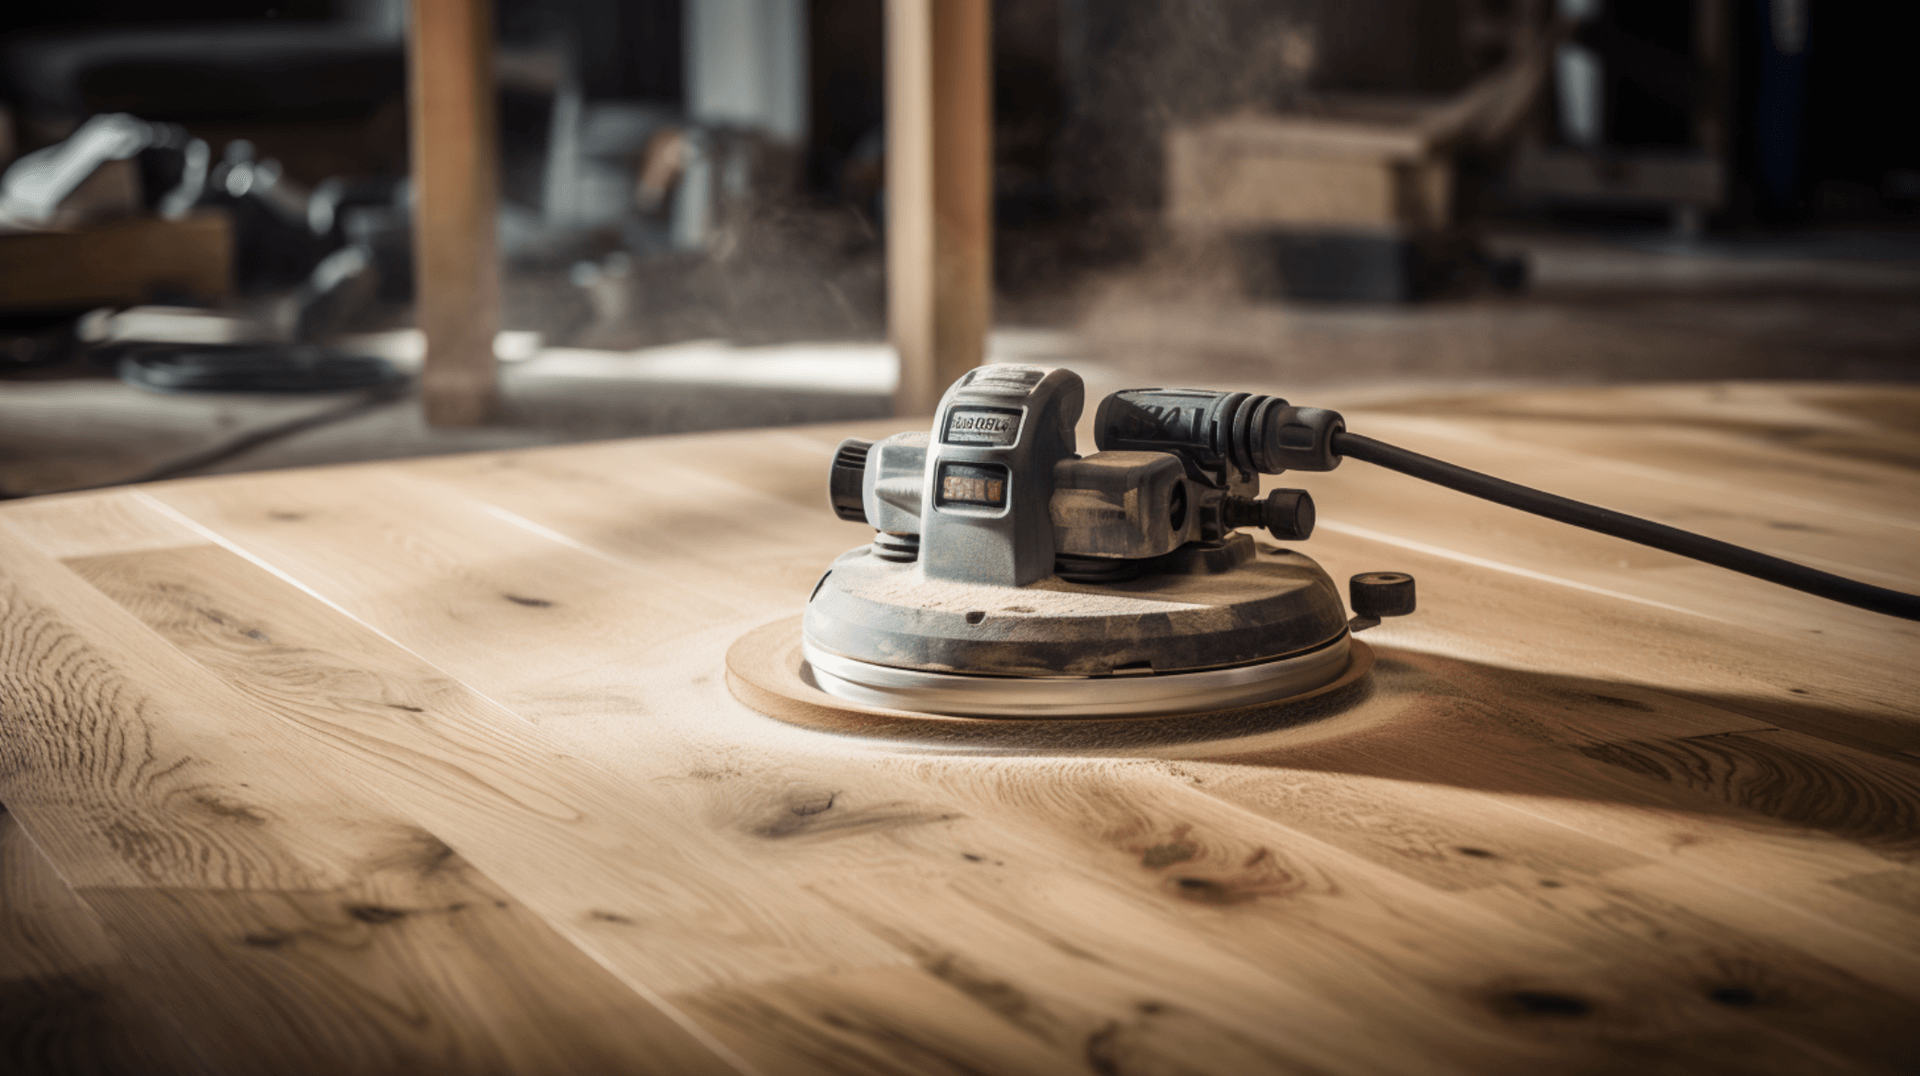
Sanding plays a crucial role in the finishing process for wood floors. Its purpose is to remove any existing finish, level the surface, and prepare the floor for the application of a new finish. By sanding the floor, it ensures that the surface is smooth and even, creating the ideal foundation for a high-quality finish.
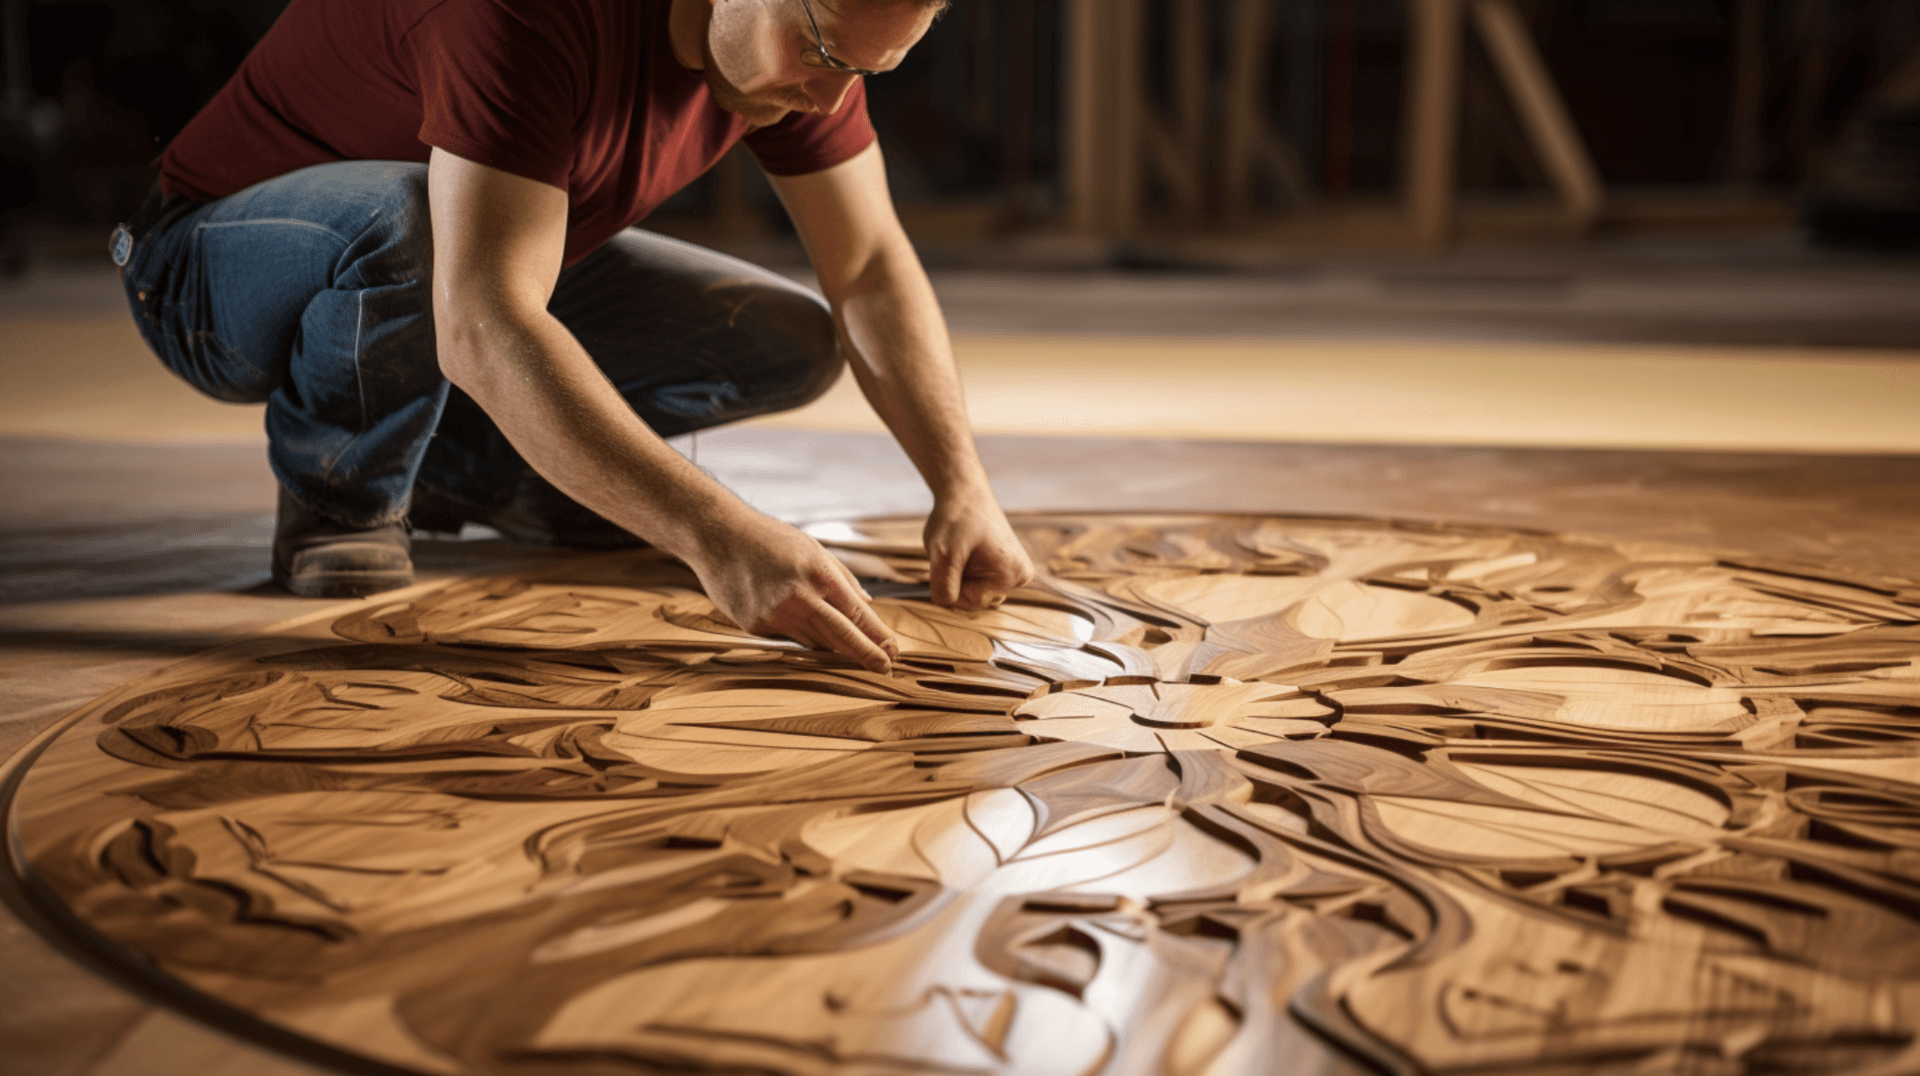
To ensure a smooth finishing process, it is important to use progressively finer grits of sandpaper to ensure the surface is smooth and even. Additionally, when breaking existing longer boards into smaller repairs during removal, using a carpenters square to mark the cutting area and scoring with a razor knife can help make precise cuts and develop end-joints that fall within the appropriate stagger from adjoining end-joints.
Sanding can also affect the duration of the finishing process. If the floor is in good condition, with minimal damage or imperfections, the process will generally take less time. if the floor is in poor condition, with deep scratches, stains, or unevenness, it may require more time to sand and level the surface before applying the finish. The size of the floor and the type of wood used also affect the duration of the sanding process.
To ensure a smooth finishing process, it is important to follow best practices for sanding. This includes using the right tools and materials, such as a drum sander and edger sander for sanding the floor, and progressively finer grits of sandpaper. Sanding in the direction of the grain and working in small sections can also help achieve a smooth finish. Additionally, cleaning the floor after sanding to remove any dust and debris is crucial.
By following these best practices and considering the specific needs of the floor, home owners and business owners can ensure a smooth and successful finishing process for their wood floors.
Understanding Different Types of Finishes and Their Application Time

There are several types of finishes available for wood floors, each with its own pros and cons in terms of application time. The most common types of finishes are oil-based, water-based, and wax-based.
Oil-based polyurethane is a popular choice for wood floors due to its durability and long-lasting finish. It typically requires one or two coats for a complete finish. oil-based polyurethane takes longer to dry between coats, usually up to 24 hours. It is also more difficult to repair and refinish, as it requires sanding and recoating.
Water-based polyurethane is a more eco-friendly option and is less toxic than oil-based polyurethane. It is easier to apply and dries faster, usually within two to four hours. water-based polyurethane is not as durable as oil-based polyurethane and may require more frequent reapplication.
Wax is a traditional finish for wood floors and is easy to apply. It can be applied in one or two coats. wax is not as durable as polyurethane and may require more frequent reapplication. Additionally, it takes longer to dry, usually up to 24 hours.
When choosing a finish for your wood floor, consider the desired durability, maintenance requirements, and application time. Oil-based polyurethane provides a durable finish but takes longer to dry. Water-based polyurethane dries faster but may require more frequent reapplication. Wax is easy to apply but not as durable and takes longer to dry.
The Process of Applying the Finish
The process of applying the finish to a wood floor involves several steps to ensure a successful and high-quality finish. These steps include preparing the floor, applying the finish, and avoiding common mistakes.
To prepare the floor, it is important to sand the floor to remove any existing finish and level the surface. This can be done using a drum sander and edger sander. It is also important to clean the floor to remove any dust and debris before applying the finish.
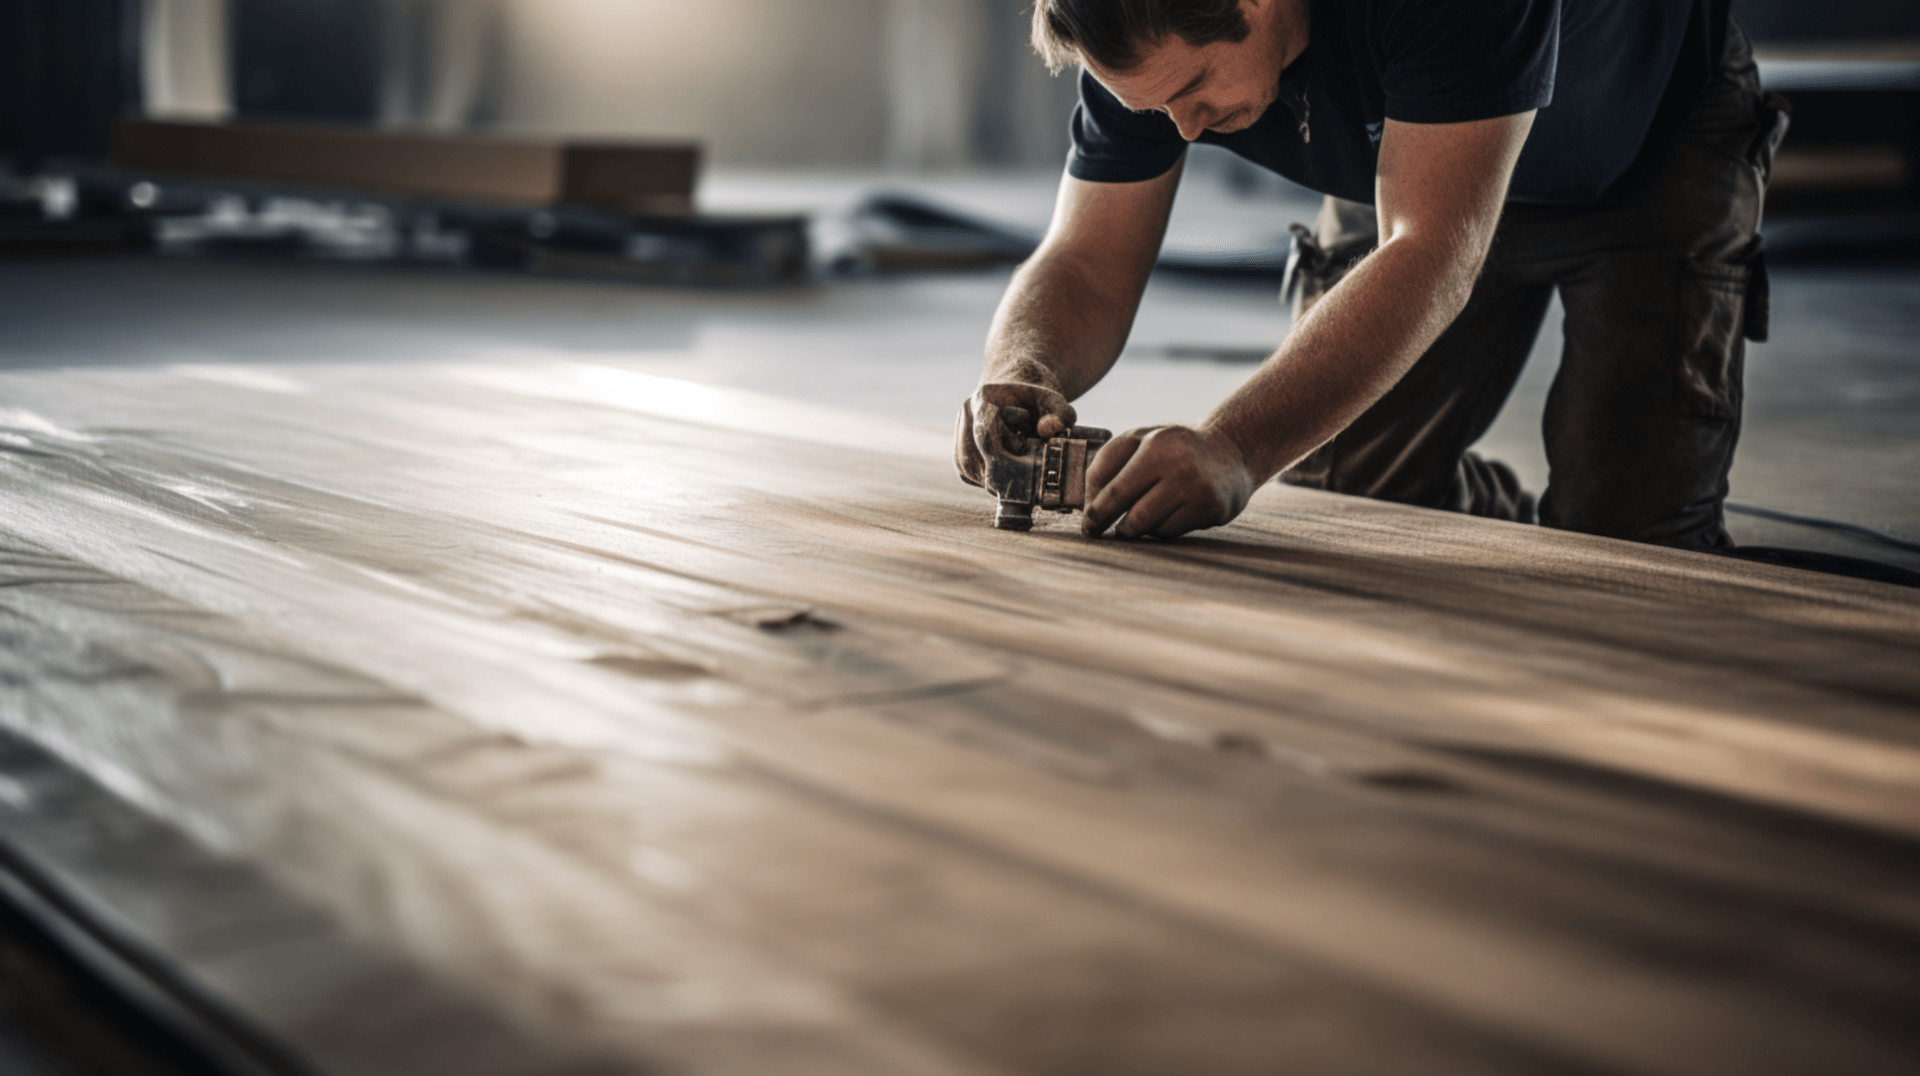
Once the floor is prepared, the next step is to apply the finish. This can be done using a brush, roller, or sprayer, depending on the type of finish being used. It is important to apply the finish in thin, even coats and in the direction of the grain. Depending on the type of finish, multiple coats may be required, with drying times between coats.
The application method can influence the duration of the finishing process. For example, using a brush may take longer than using a roller or sprayer. Additionally, some finishes require longer drying times between coats, which can extend the overall time needed to complete the process.
During the application process, it is important to avoid common mistakes. This includes applying too much finish, which can cause the finish to crack or peel. It is also important to avoid overlapping the finish, as this can create an uneven finish. Following the manufacturer’s instructions and using the right tools and techniques can help avoid these mistakes.
By following these steps and avoiding common mistakes, home owners and business owners can achieve a high-quality finish for their wood floors, preserving their beauty and ensuring their longevity.
Curing Time: An Essential Part of the Finishing Process

Curing Time: An Essential Part of the Finishing Process
Curing is the process of allowing the finish to dry and harden, creating a durable and long-lasting protective layer on the wood floor. It is an essential part of the finishing process as it ensures that the finish adheres properly to the wood, preventing issues such as cracking, peeling, and other imperfections. Proper curing also helps to create a high-quality finish and prolong the life of the floor.
The duration of curing time varies depending on the type of finish used. Oil-based polyurethane typically takes 24-48 hours to cure, while water-based polyurethane takes 2-4 hours. Wax finishes take the longest to cure, usually up to 24 hours. It is important to follow the manufacturer’s instructions for the specific type of finish being used to ensure optimal curing time.
To ensure optimal curing conditions for your wood floor, it is important to maintain a consistent temperature and humidity level in the room. The ideal temperature is between 60-80F, and the ideal humidity level is between 30-50%. Additionally, it is important to avoid exposing the floor to direct sunlight or high levels of foot traffic during the curing process.
By understanding the importance of curing and maintaining the right temperature and humidity levels, home owners and business owners can ensure a successful and long-lasting finish for their wood floors.
PostFinishing Care and Maintenance
Proper care and maintenance of a finished wood floor is essential for preserving its beauty and ensuring its longevity. Home owners and business owners should establish a cleaning regimen and incorporate floor cleaning into their regular cleaning routine.
Regular cleaning is the most important part of maintaining a finished wood floor. This should be done using a soft-bristled broom or vacuum cleaner to remove dirt and debris. A damp mop can also be used to clean the floor, but it is important to avoid using too much water, as this can damage the finish.
Protective mats should be placed at entrances and high-traffic areas to help protect the floor from dirt and wear and tear. It is also important to use felt pads on furniture legs to prevent scratches and dents.
To avoid damage to the floor, it is important to avoid dragging furniture or other heavy objects across the floor. Harsh cleaning products or abrasive scrubbing pads should also be avoided, as they can damage the finish.
Regular maintenance is important for preserving the finish. This includes inspecting the floor for signs of rot or decay, such as moisture content, infestation, and cracks, splits, and warping. If any issues are found, it is important to address them promptly to prevent further damage.
By following these best practices for care and maintenance, home owners and business owners can ensure that their finished wood floors look their best and last for years to come.
Troubleshooting Common Issues in the Finishing Process
Common issues that can arise during the finishing process include air bubbles, drips, and uneven coverage. These issues can affect the duration of the finishing process, as they can require additional time to fix the problem. For example, if air bubbles or drips occur, the finish may need to be removed and reapplied. If there is uneven coverage, additional coats of finish may be needed to achieve a smooth and even finish.
To address these common issues, it is important to follow best practices for the finishing process. This includes applying the finish in thin, even coats and allowing sufficient drying time between coats. It is also important to avoid applying the finish too thickly or too quickly, as this can lead to air bubbles and drips. Additionally, it is important to avoid applying the finish over electrical cables, recessed lighting, existing vents or ventilation gaps, and junctions with external walls to ensure a smooth and even finish.
By following these solutions and best practices, home owners and business owners can troubleshoot common issues in the finishing process and achieve a successful and high-quality finish for their wood floors.
Expert Advice: Tips and Tricks for a Smooth Finishing Process
Expert Advice: Tips and Tricks for a Smooth Finishing Process
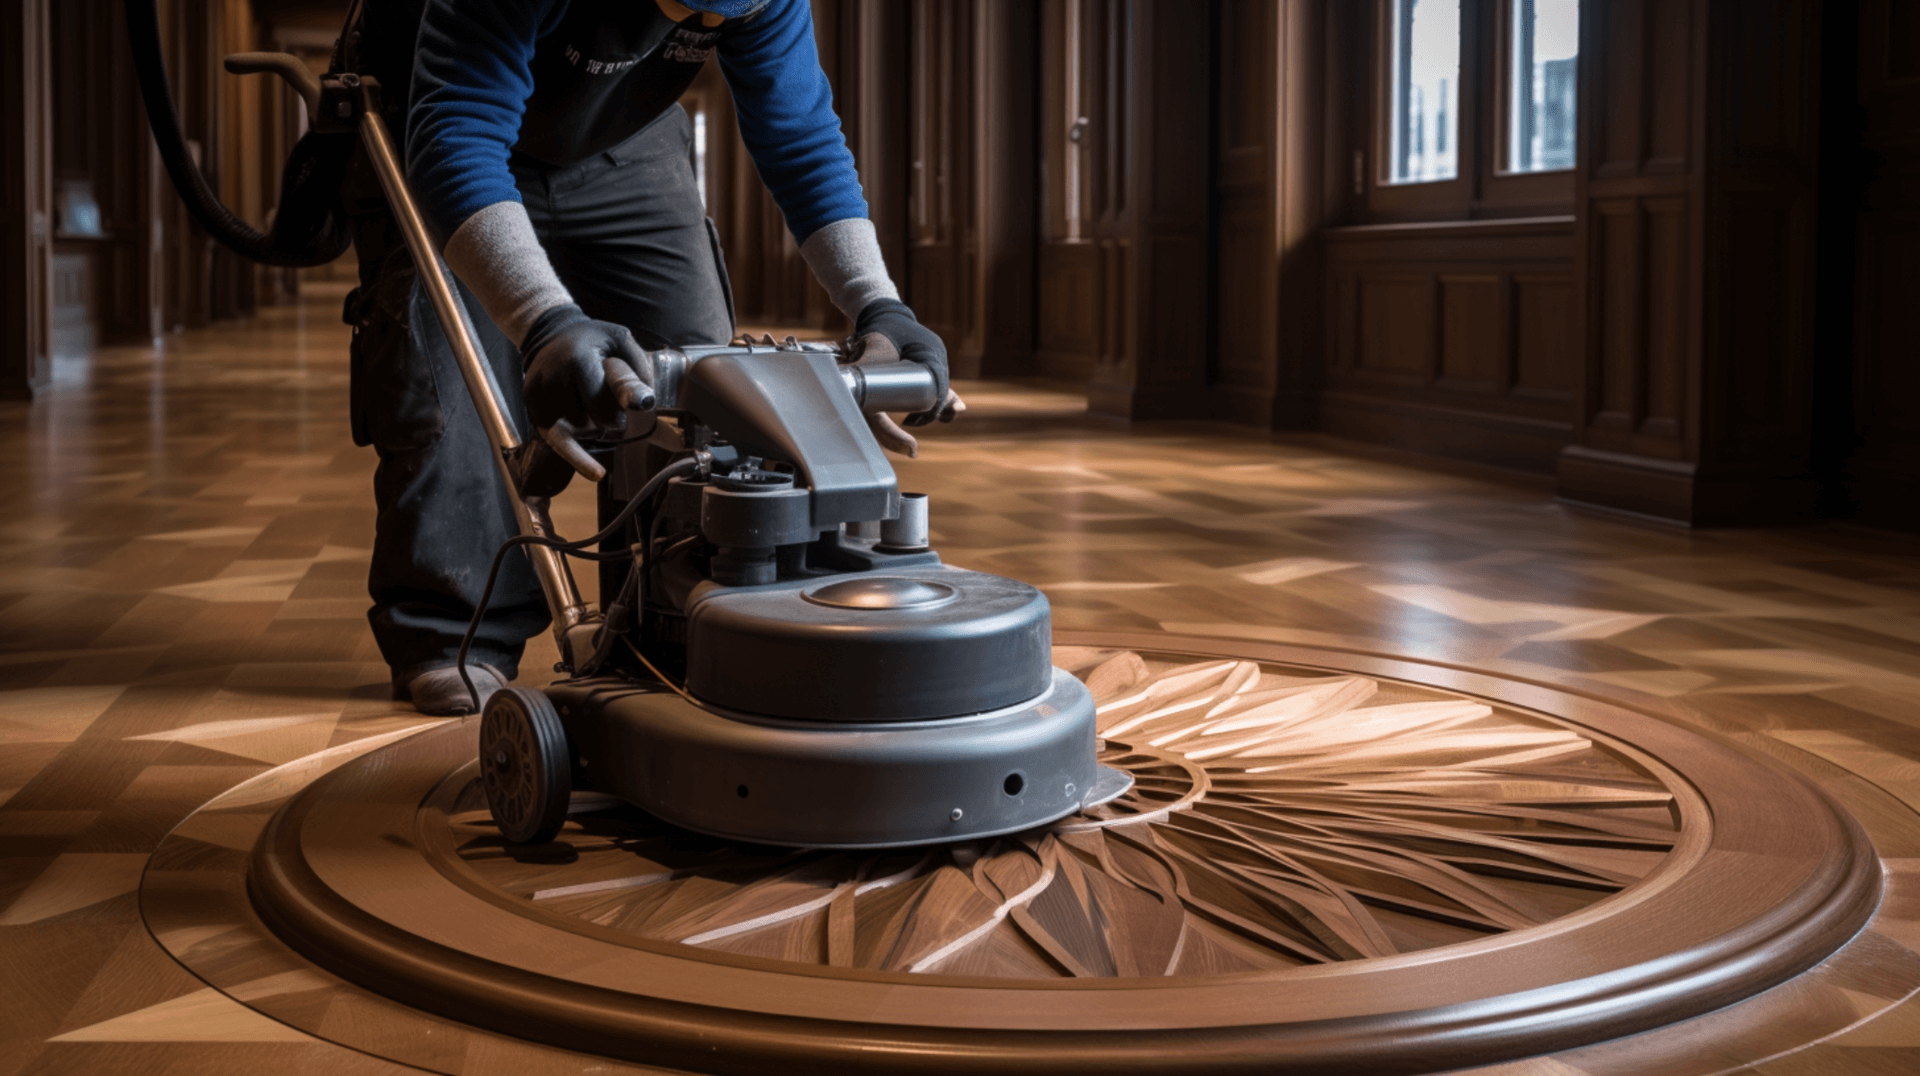
When it comes to achieving a smooth and efficient finishing process for wood floors, there are a few expert tips and tricks that can help. First, it is important to use the right tools and materials for the job. This includes using a drum sander and edger sander for sanding the floor, and progressively finer grits of sandpaper. Additionally, using a brush, roller, or sprayer for applying the finish can help reduce the duration of the finishing process.
Second, it is important to apply the finish in thin, even coats and in the direction of the grain. This helps to ensure a smooth and even finish. Additionally, it is important to avoid applying the finish too thickly or too quickly, as this can lead to air bubbles and drips.
Third, it is important to maintain a consistent temperature and humidity level in the room during the curing process. The ideal temperature is between 60-80F, and the ideal humidity level is between 30-50%. Additionally, it is important to avoid exposing the floor to direct sunlight or high levels of foot traffic during the curing process. It is also important to ensure adequate cross-ventilation by installing vents in the opposing external walls or providing an additional external vent.
By following these expert tips and tricks, home owners and business owners can achieve a smooth and efficient finishing process for their wood floors, resulting in a professional and long-lasting finish.
Contact GJP Floor Sanding for Professional Assistance
GJP Floor Sanding is a professional floor sanding and finishing company that can assist home owners and business owners in achieving a high-quality finish for our wood floors. With over 20 years of experience in the industry, GJP Floor Sanding offers a range of services for wood floor finishing, including sanding, staining, sealing, and polishing.
GJP Floor Sanding’s experienced team of professionals can help ensure a smooth and efficient finishing process. We can provide advice on the best tools and materials to use, as well as tips and tricks for achieving a successful and long-lasting finish. We can also help troubleshoot any common issues that may arise during the finishing process. GJP Floor Sanding can also provide advice on the best type of finish to use for a particular floor, as well as the best care and maintenance practices to ensure the longevity of the floor.
In addition to the finishing process, GJP Floor Sanding can also provide advice and guidance on proper care and maintenance of a finished wood floor. This includes establishing a cleaning regimen and incorporating floor cleaning into regular cleaning routines, as well as using protective mats and felt pads on furniture legs. We can also provide advice on how to monitor and address any potential issues with the floor, such as moisture content, infestation, and cracks.
To get in touch with GJP Floor Sanding for a consultation or quote, home owners and business owners can contact us via phone or email. We can also visit the GJP Floor Sanding website for more information on our services and to book an appointment.
Overall, GJP Floor Sanding is a reliable and experienced company that can provide professional assistance in achieving a high-quality finish for wood floors, as well as guidance on proper care and maintenance.